
royal icing recipe + tips
What is royal icing? Royal icing is hard white icing made from confectioners' sugar and egg whites. It is sometimes made with meringue powder instead of egg whites. Royal icing is very easy to make but can be very difficult to work with. Temperature and humidity are two big factors that can impact the consistency and with royal icing it’s all about the consistency.
I have a lot of thoughts on royal icing but for this post I’m going to stick with the recipe I use for royal icing and touch briefly on consistency.
As I said royal icing can be made with egg whites or meringue powder. I prefer the egg whites method because of the consistency when the icing hardens. In my experience meringue powder royal icing dries a little chalky. I also prefer the subtle lemon flavor in the egg whites and lemon juice method.
INGREDIENTS

2 egg whites
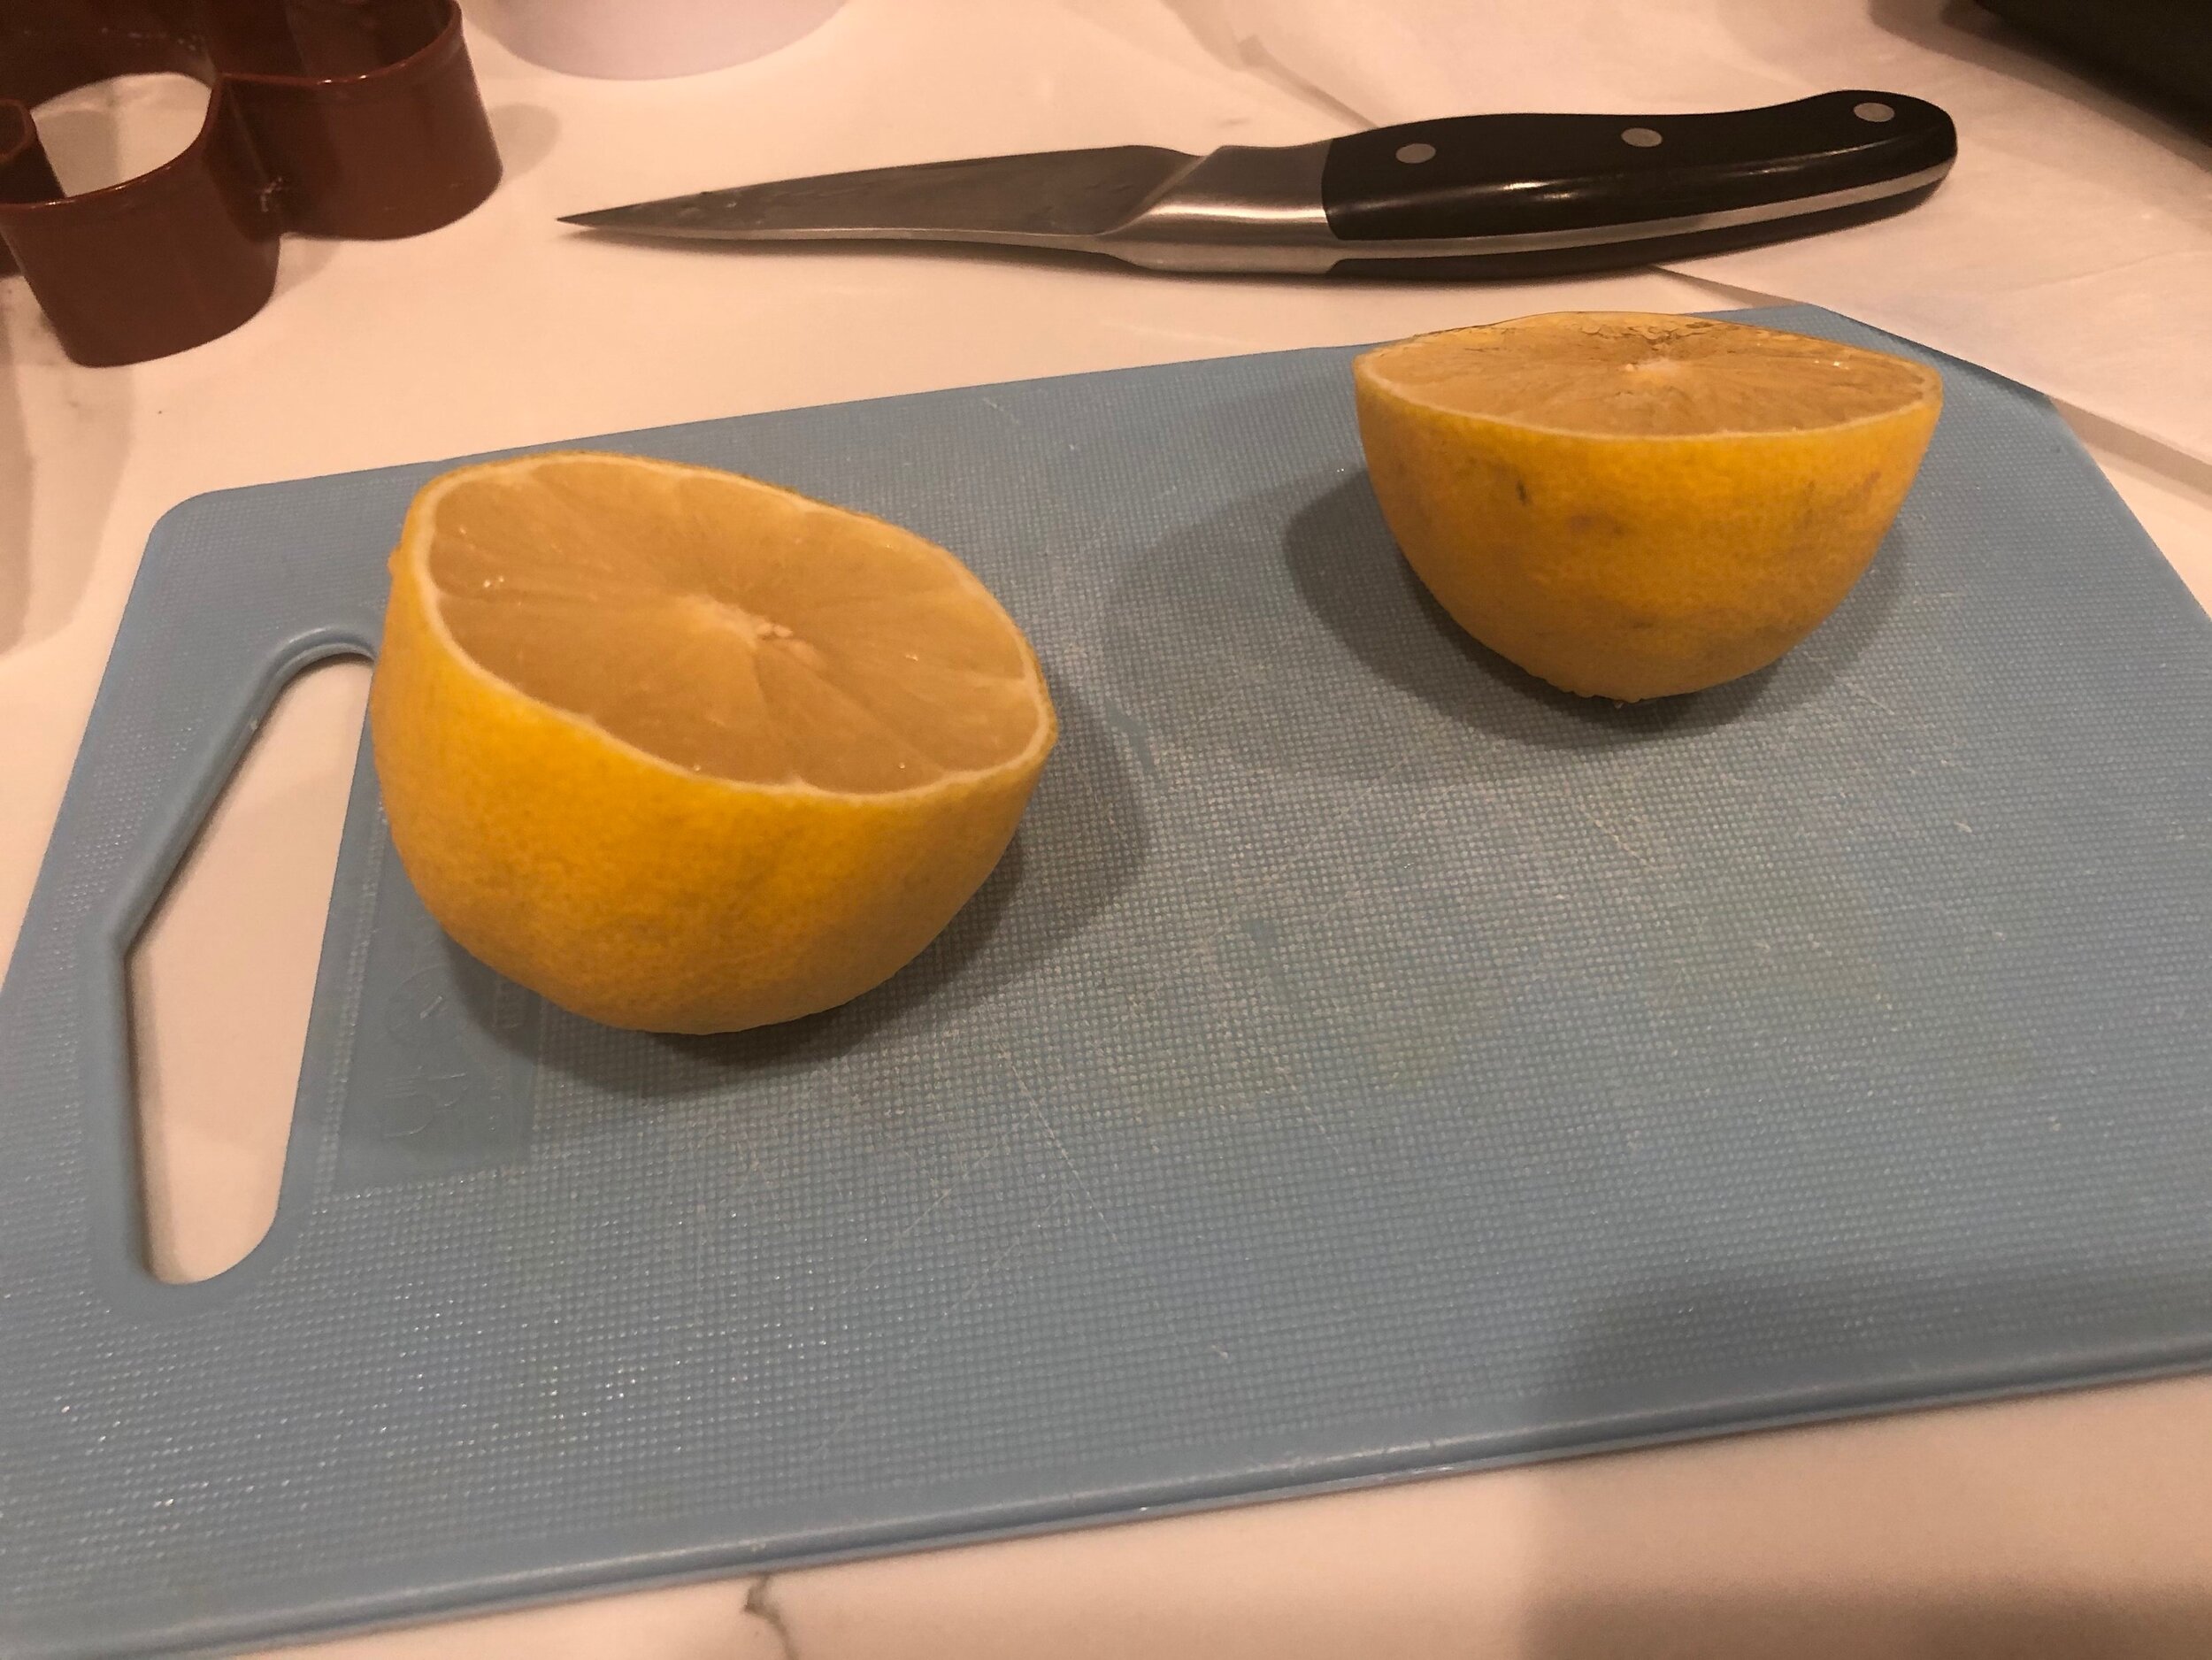
2-5 tablespoons lemon juice
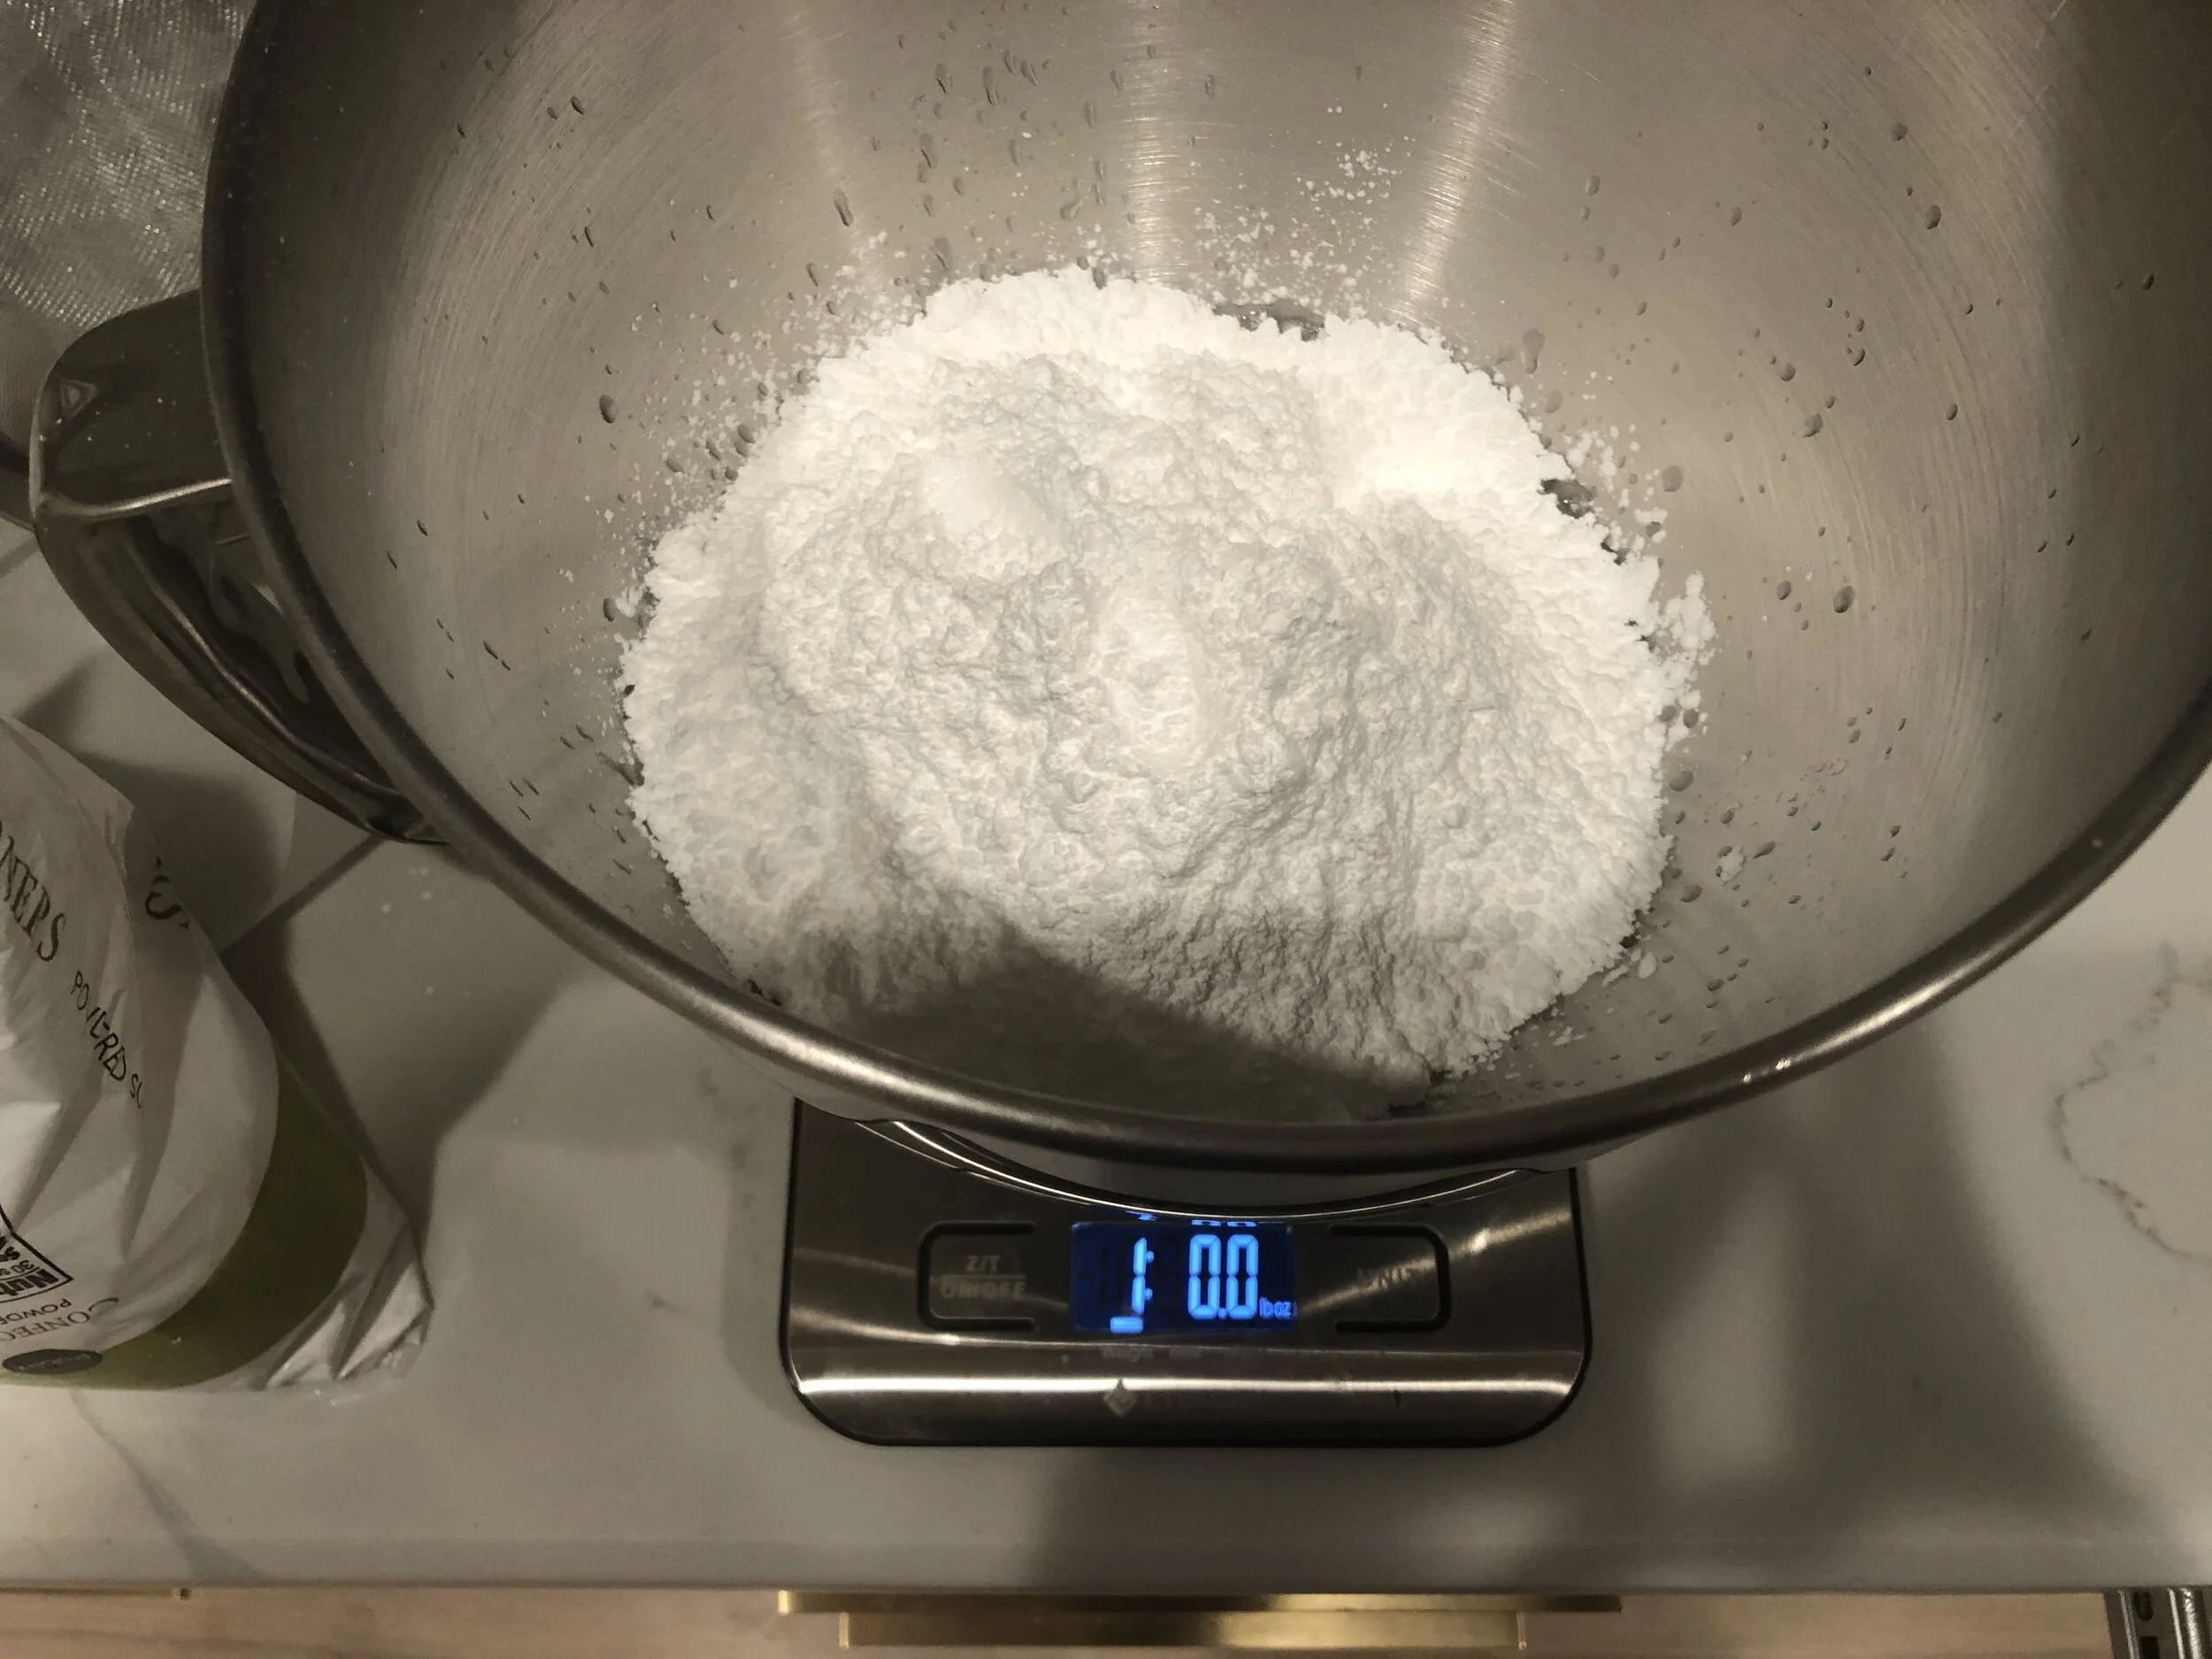
1 pound confectioners sugar
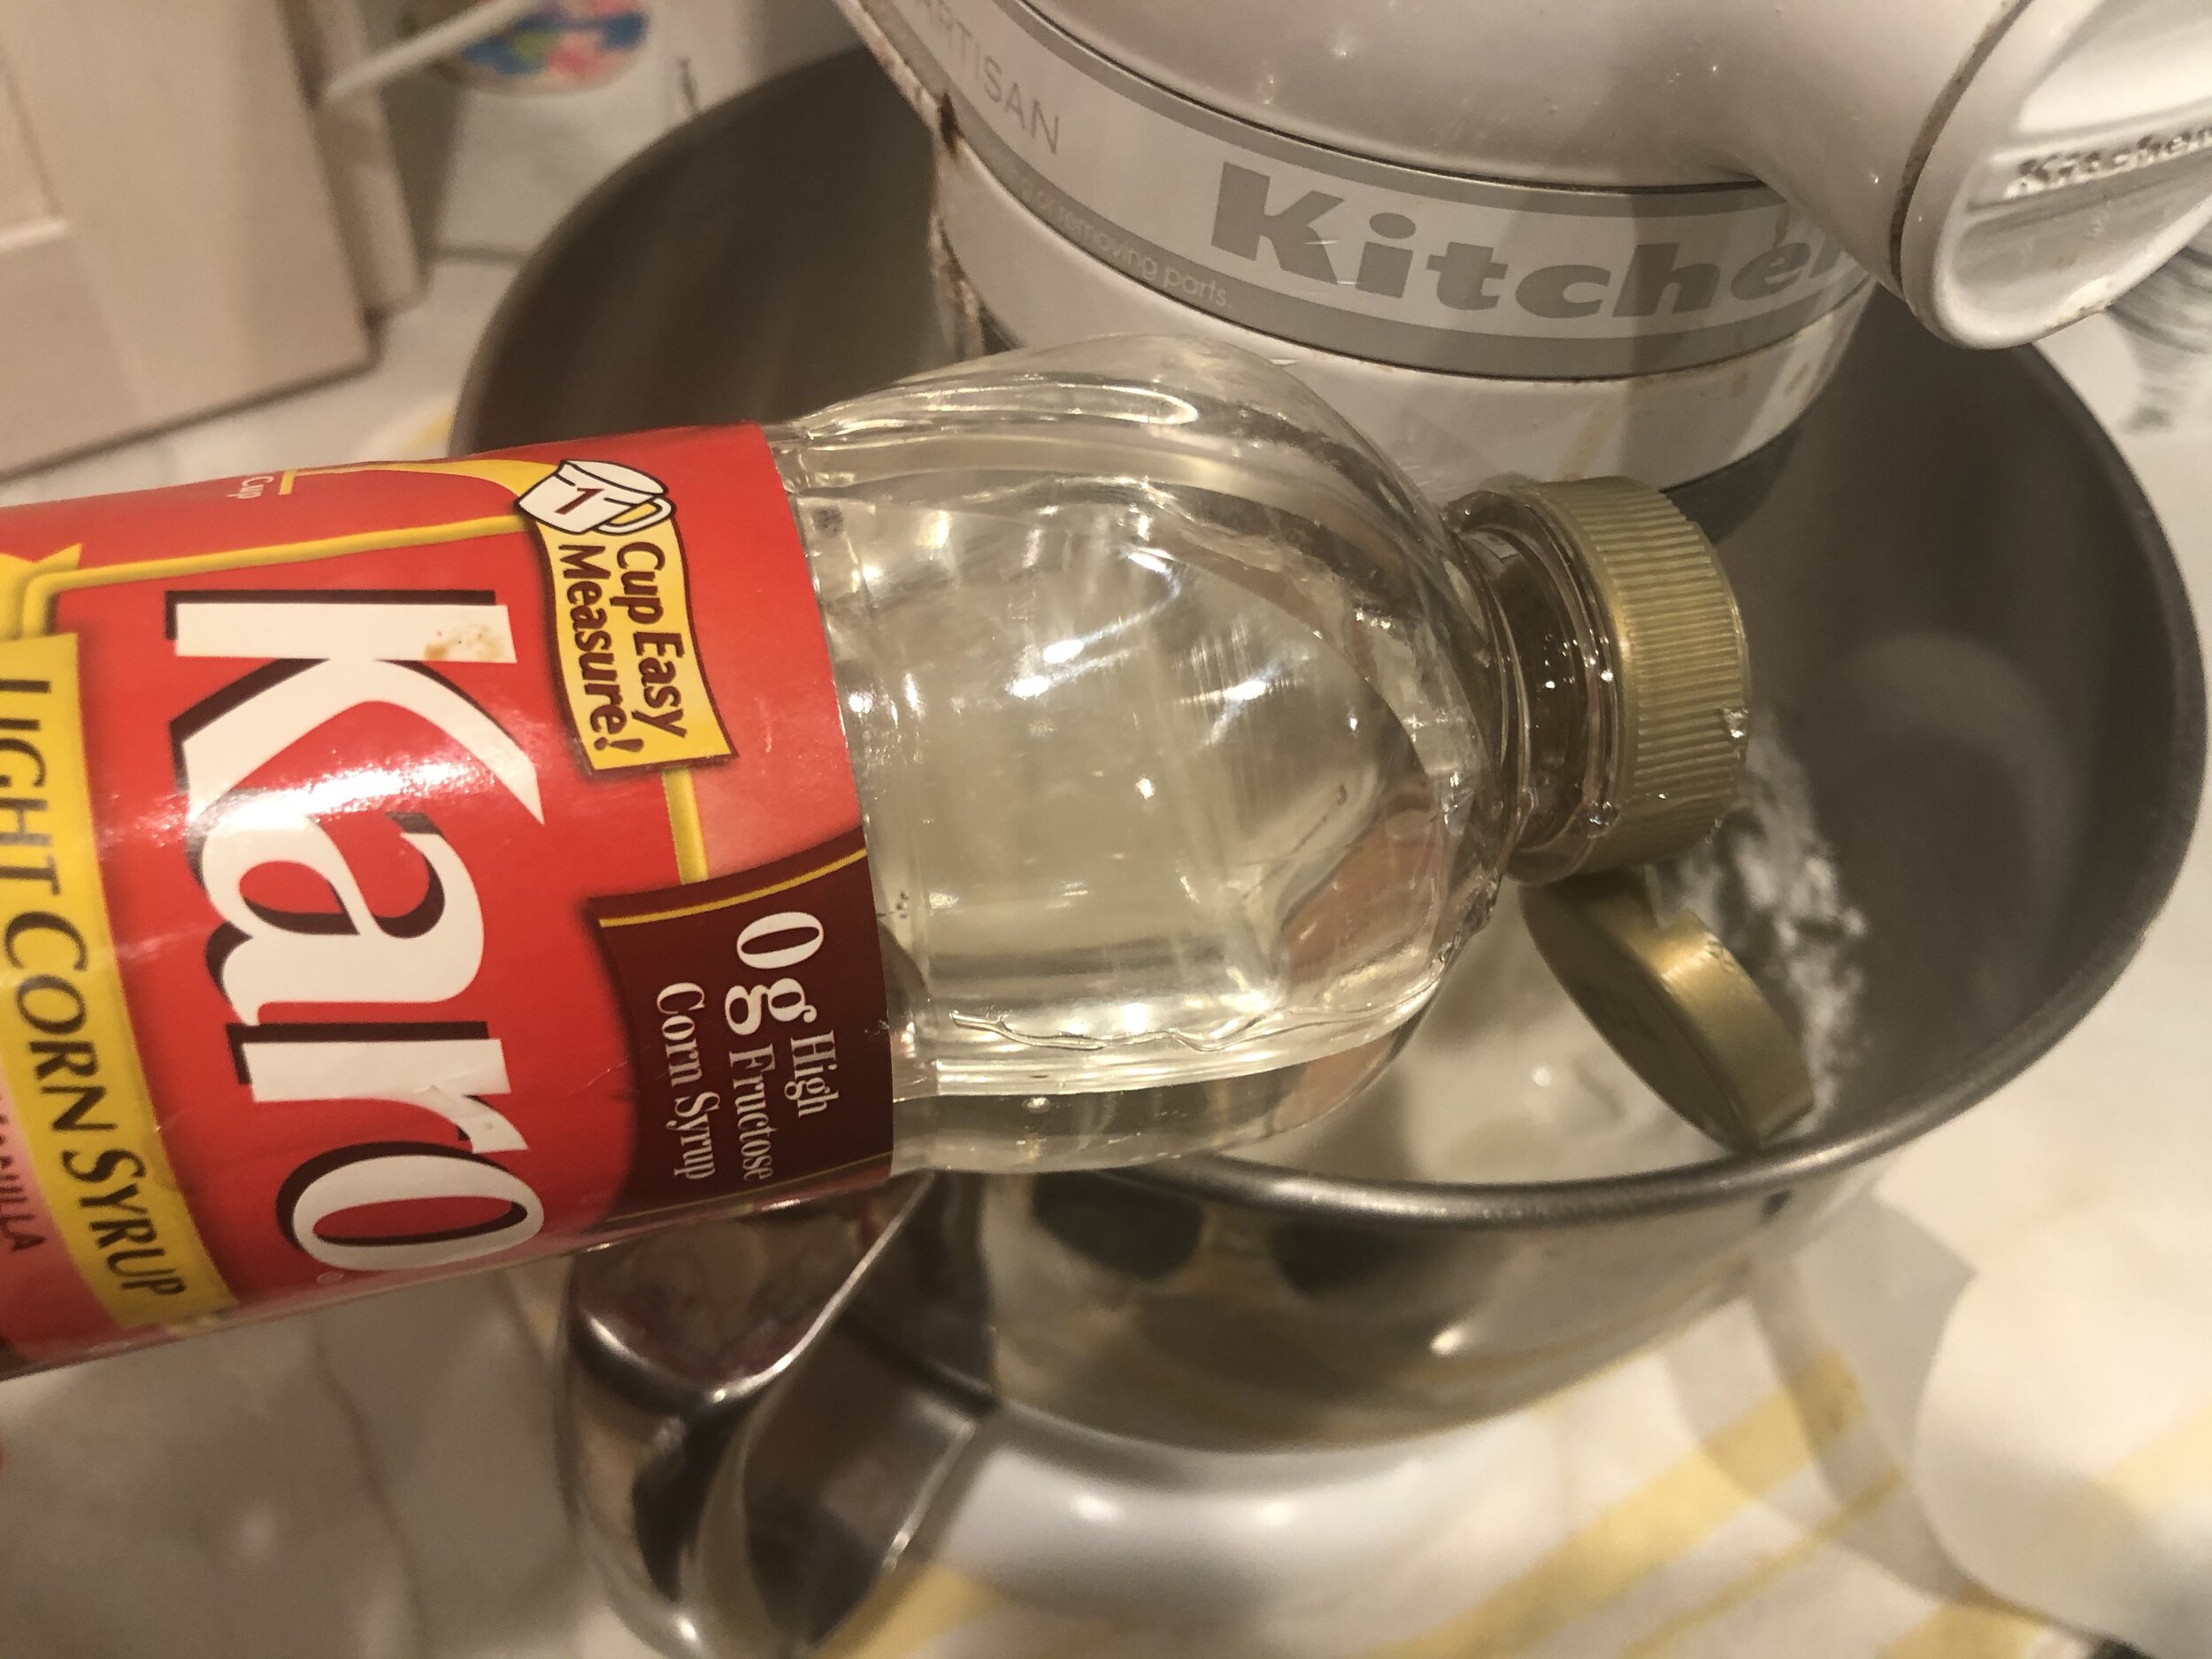
1 teaspoon light Karo syrup
INSTRUCTIONS
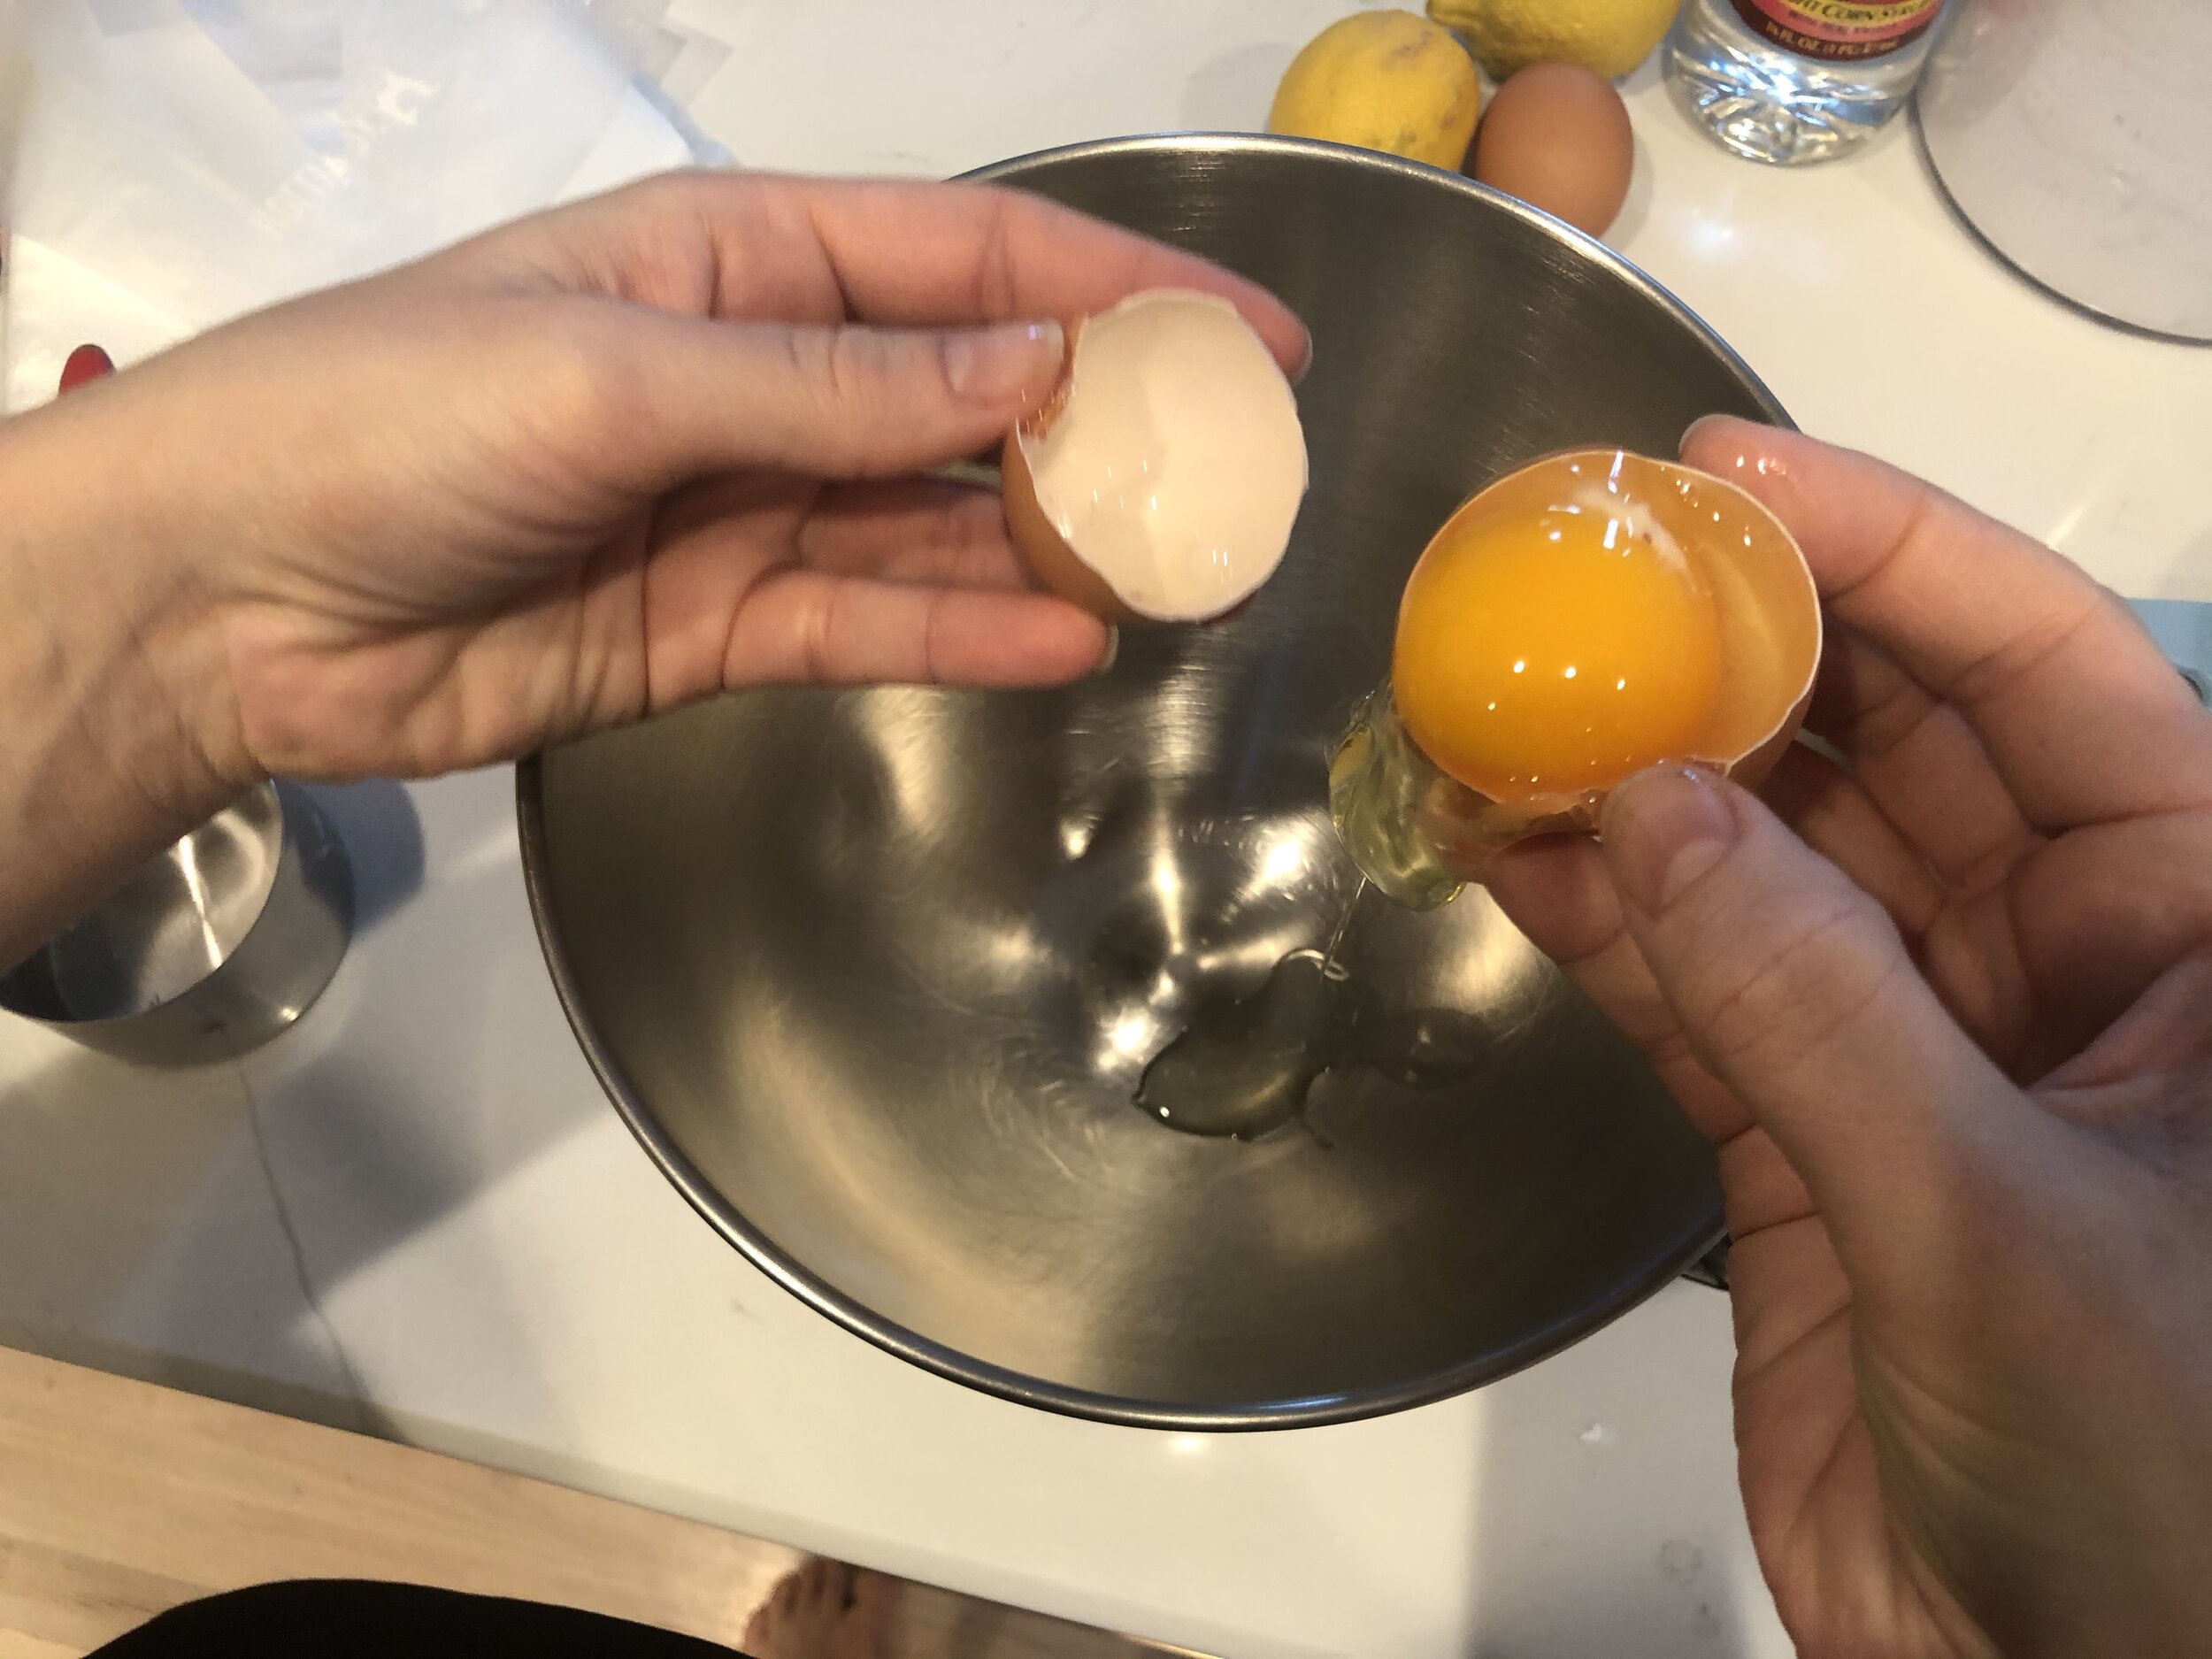
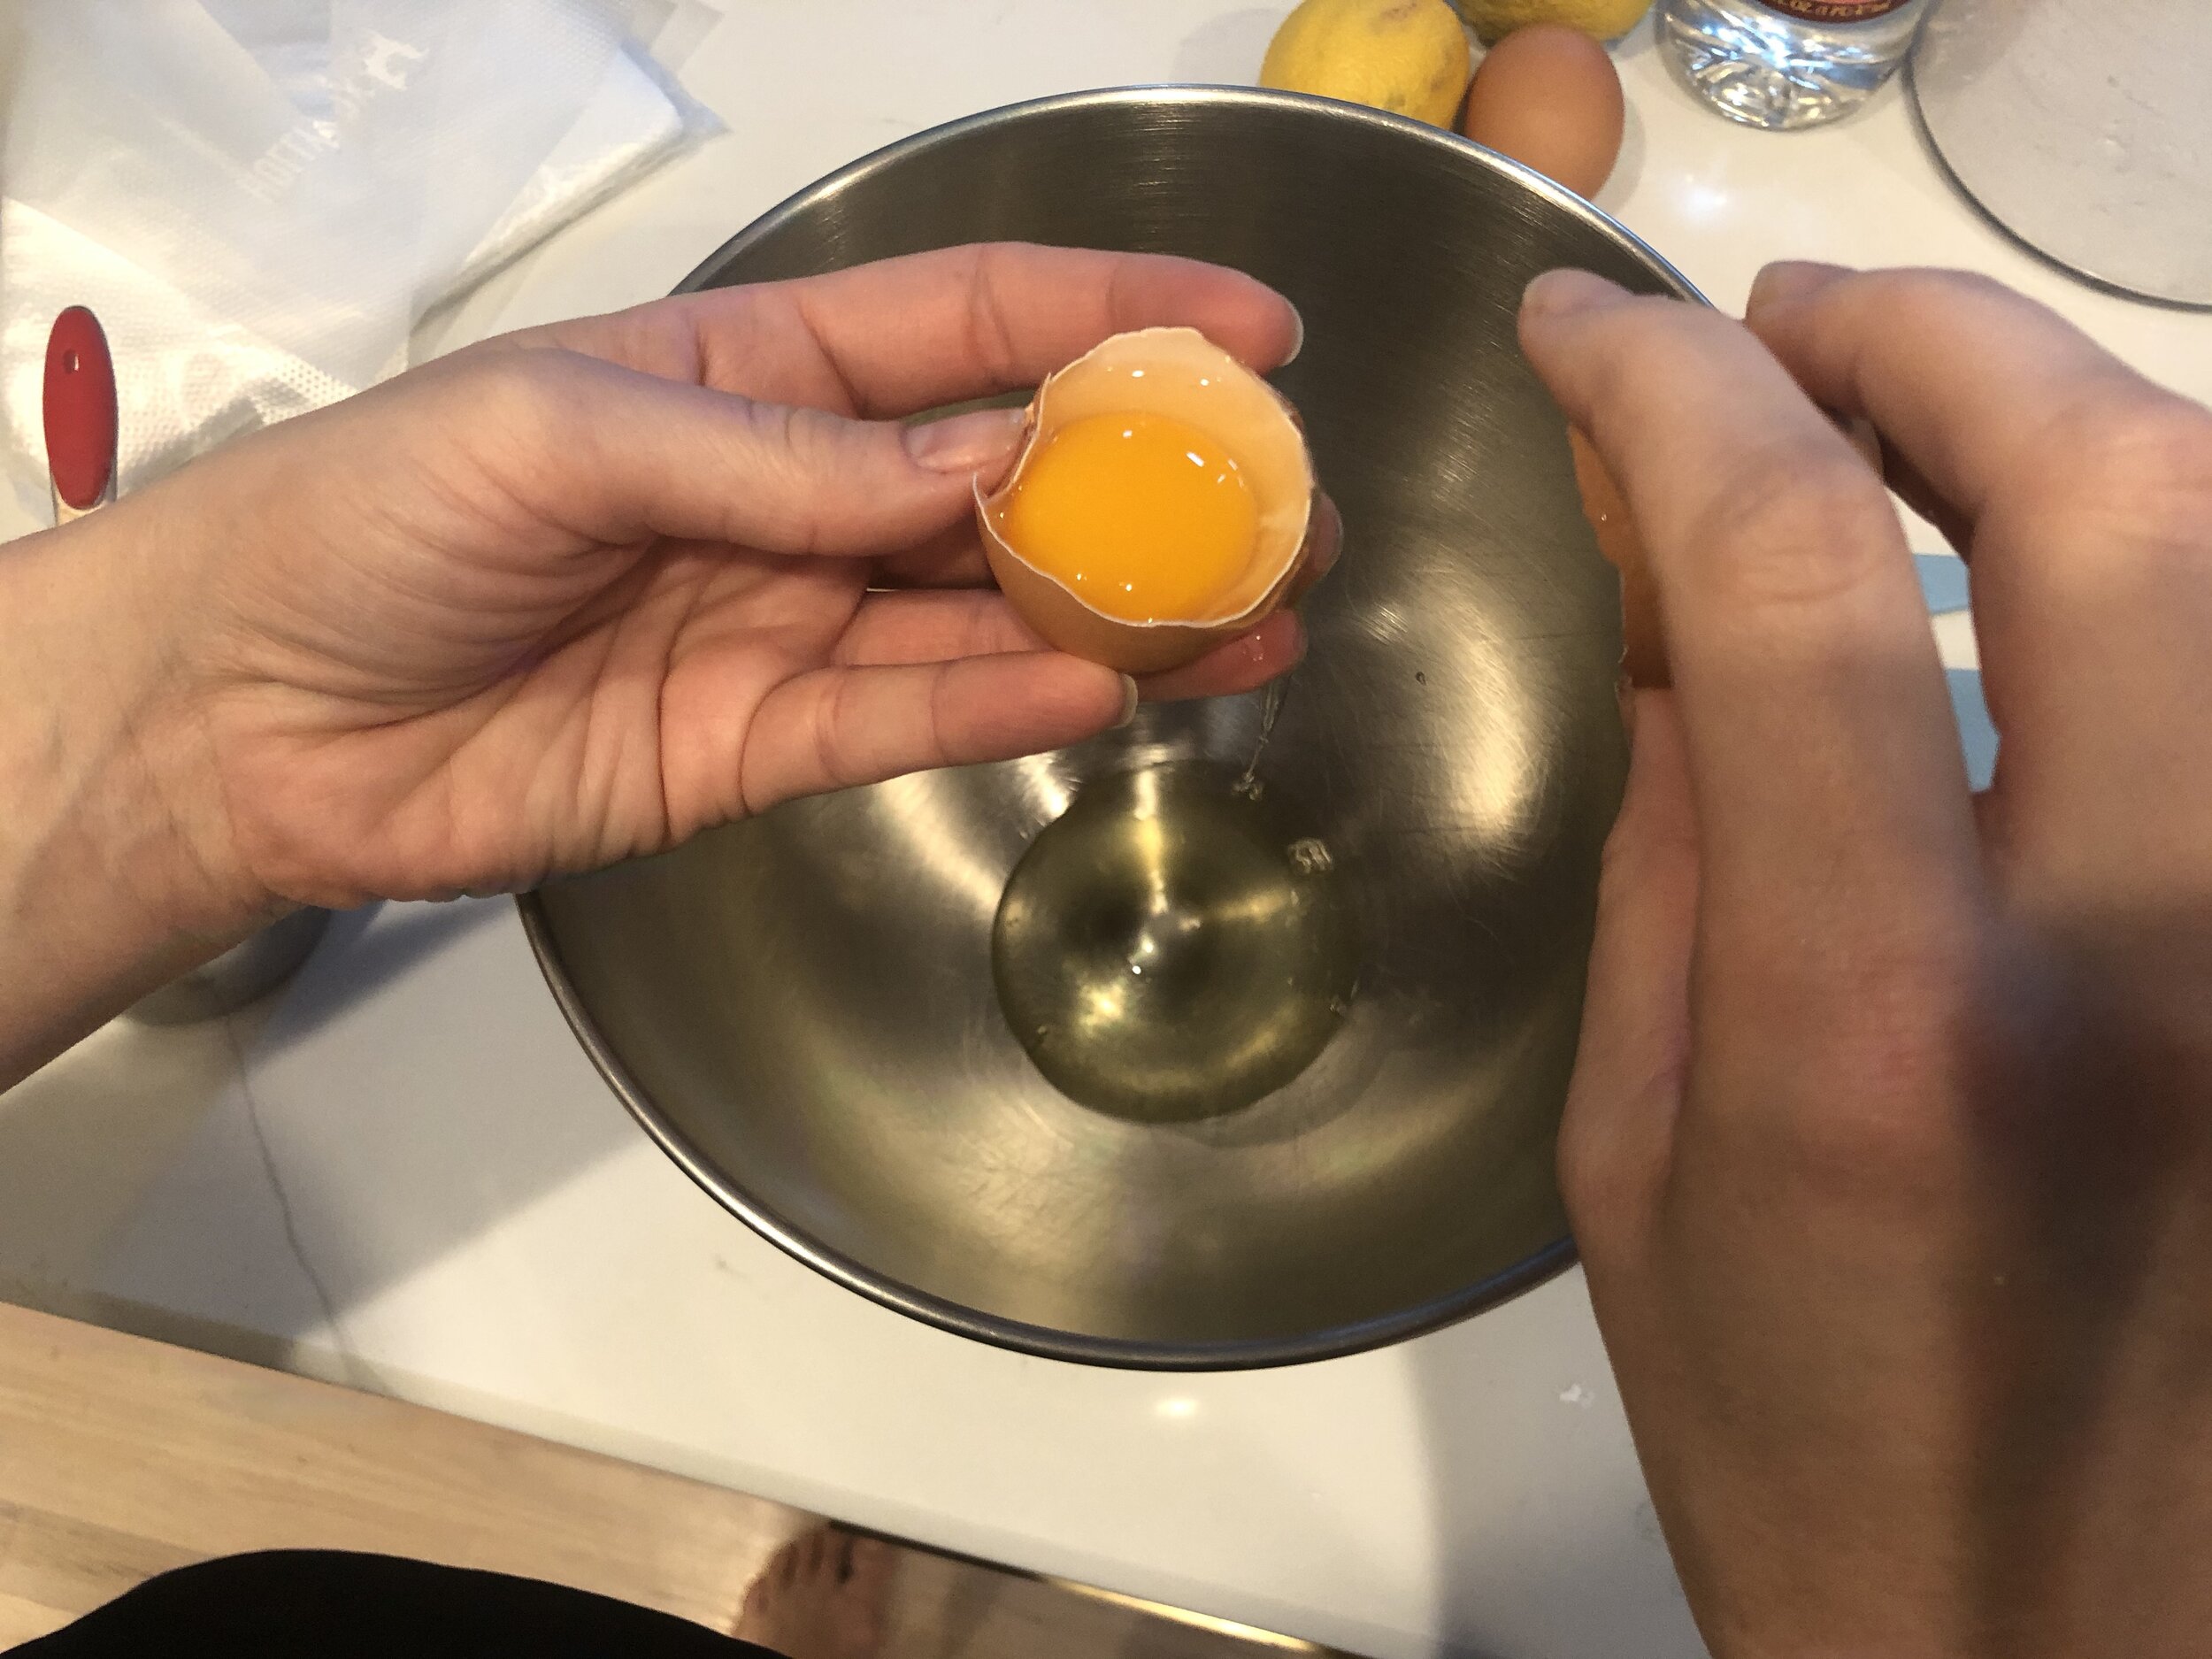
Separate the egg whites making sure there is no yolk mixed in. Put the egg whites in the bowl of a stand mixer.
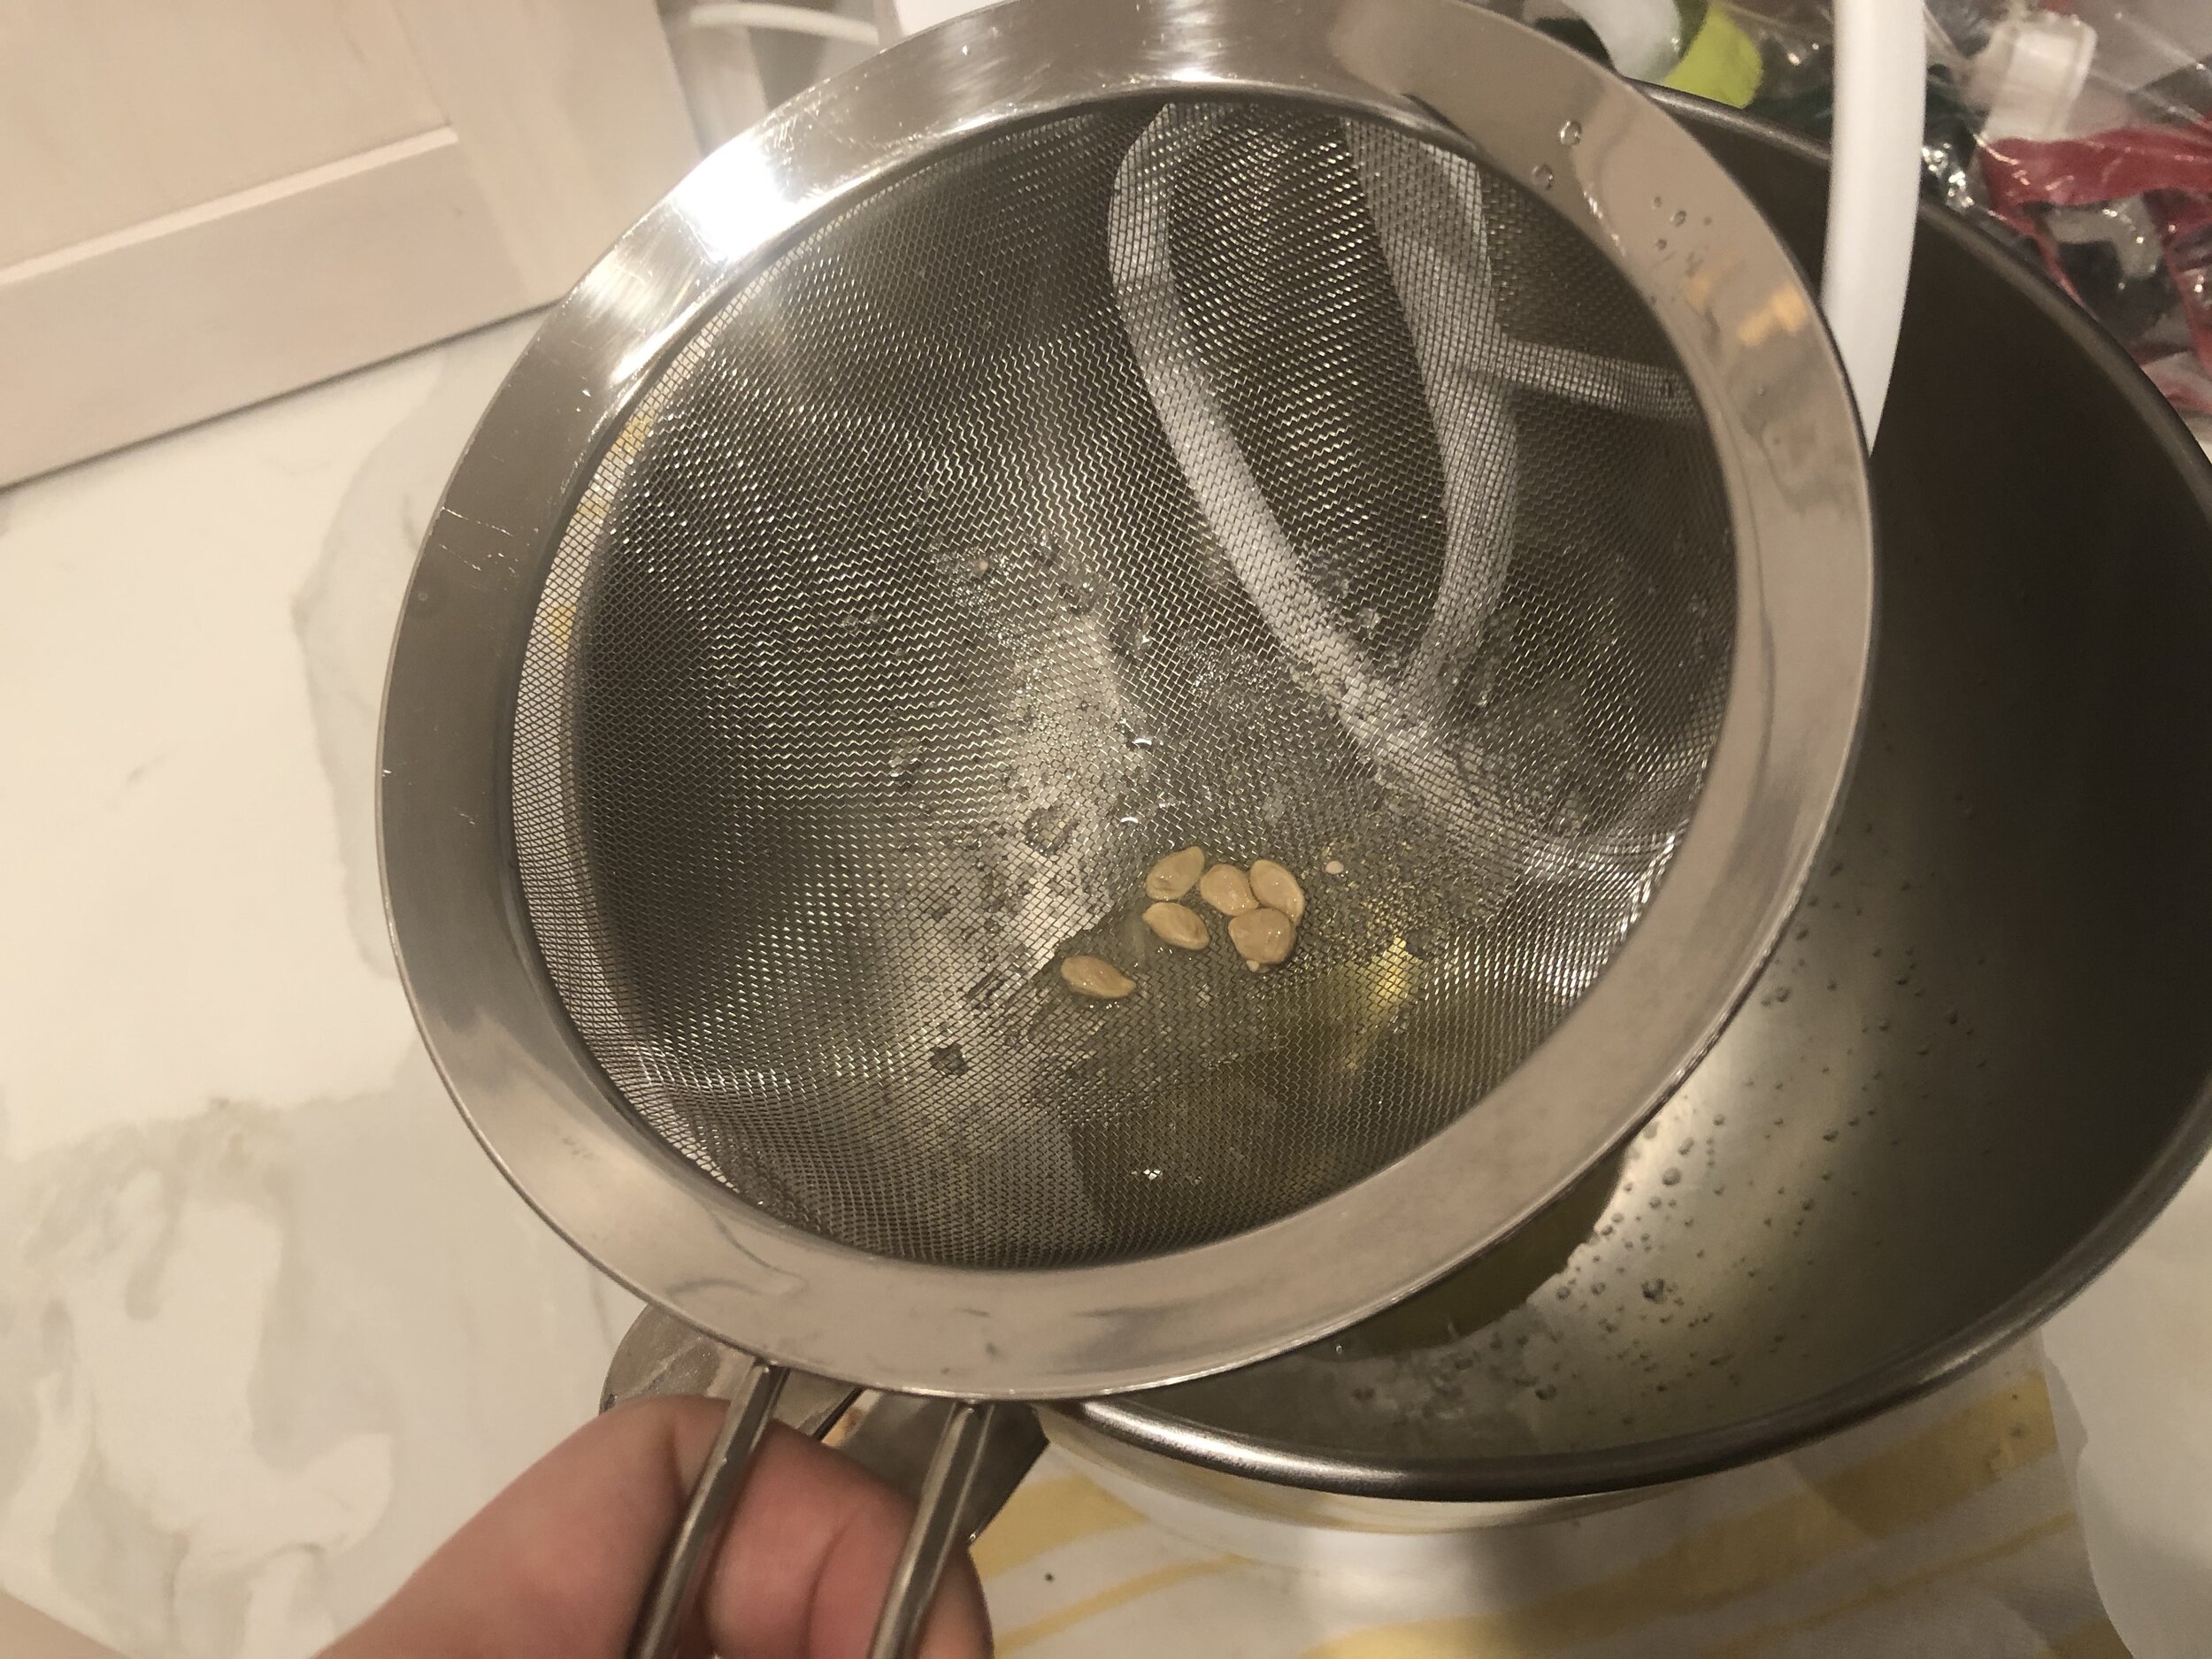
Add 1 tablespoon of lemon juice to the egg whites.
Add 1 pound of confectioners sugar to the egg whites and lemon juice.
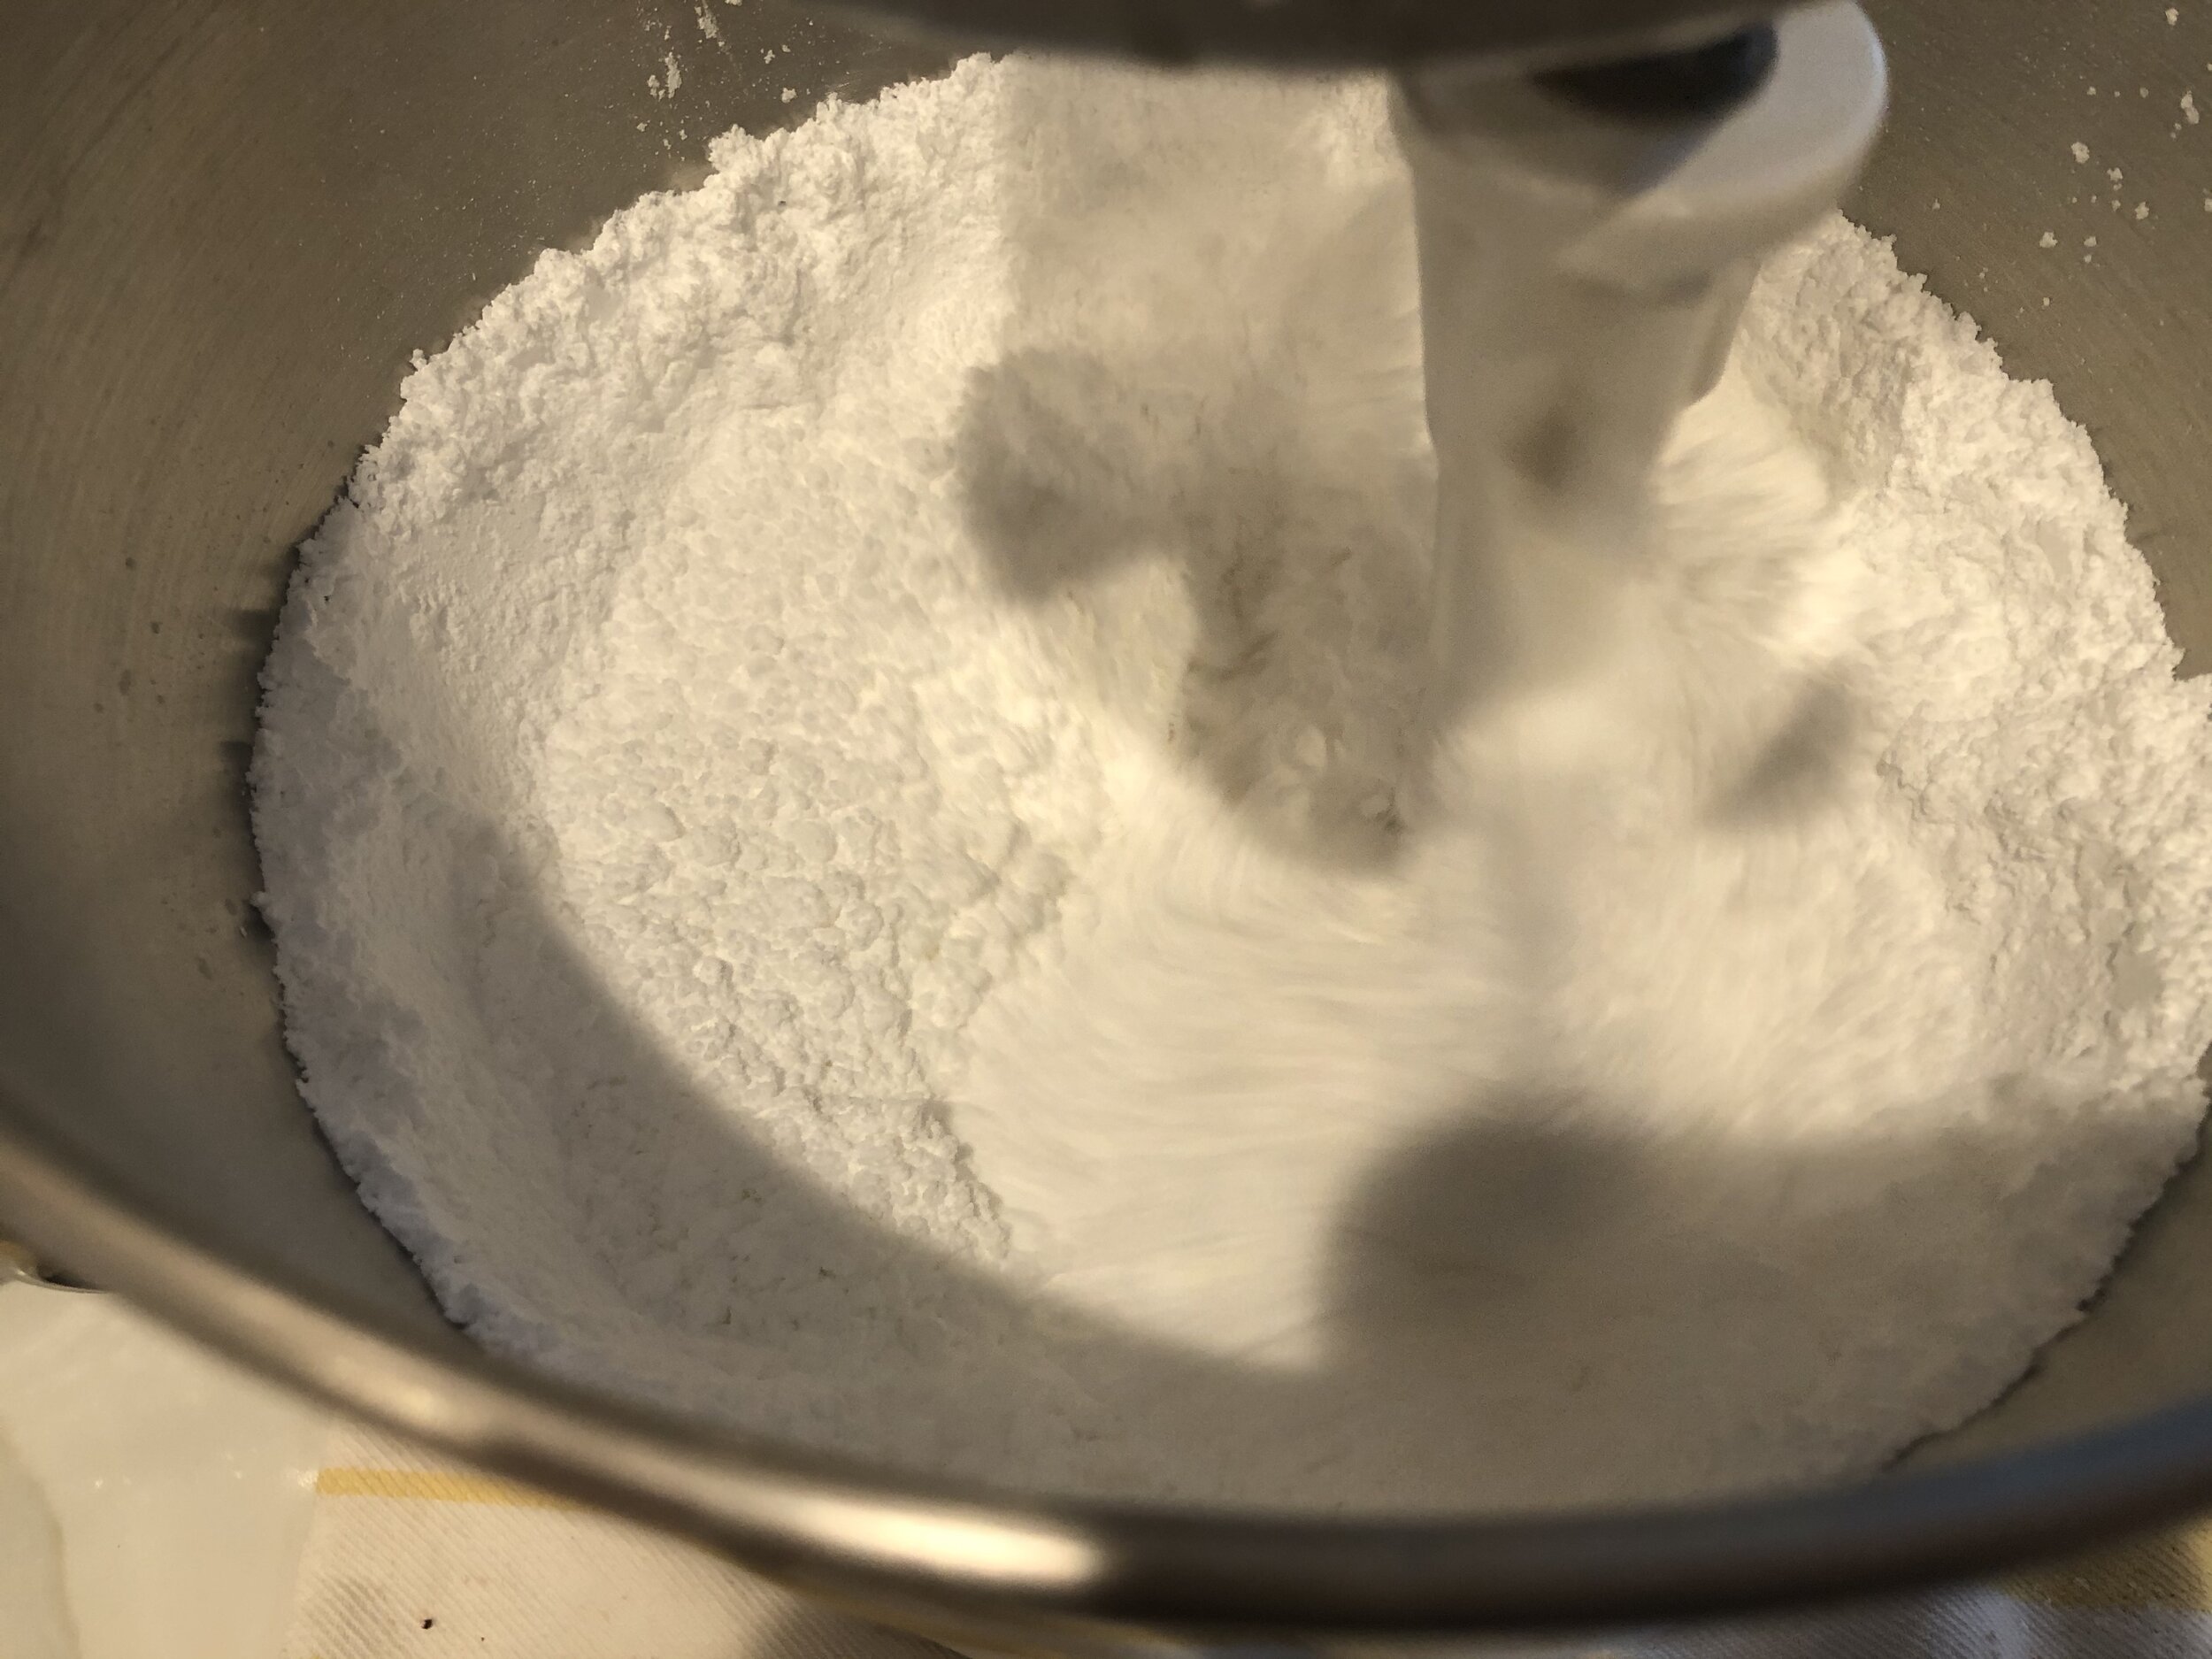
Using a paddle attachment mix on low until smooth. The consistency should resemble Elmers Glue.
Scrape down the sides of the bowl.
Add 1 teaspoon light Karo syrup.
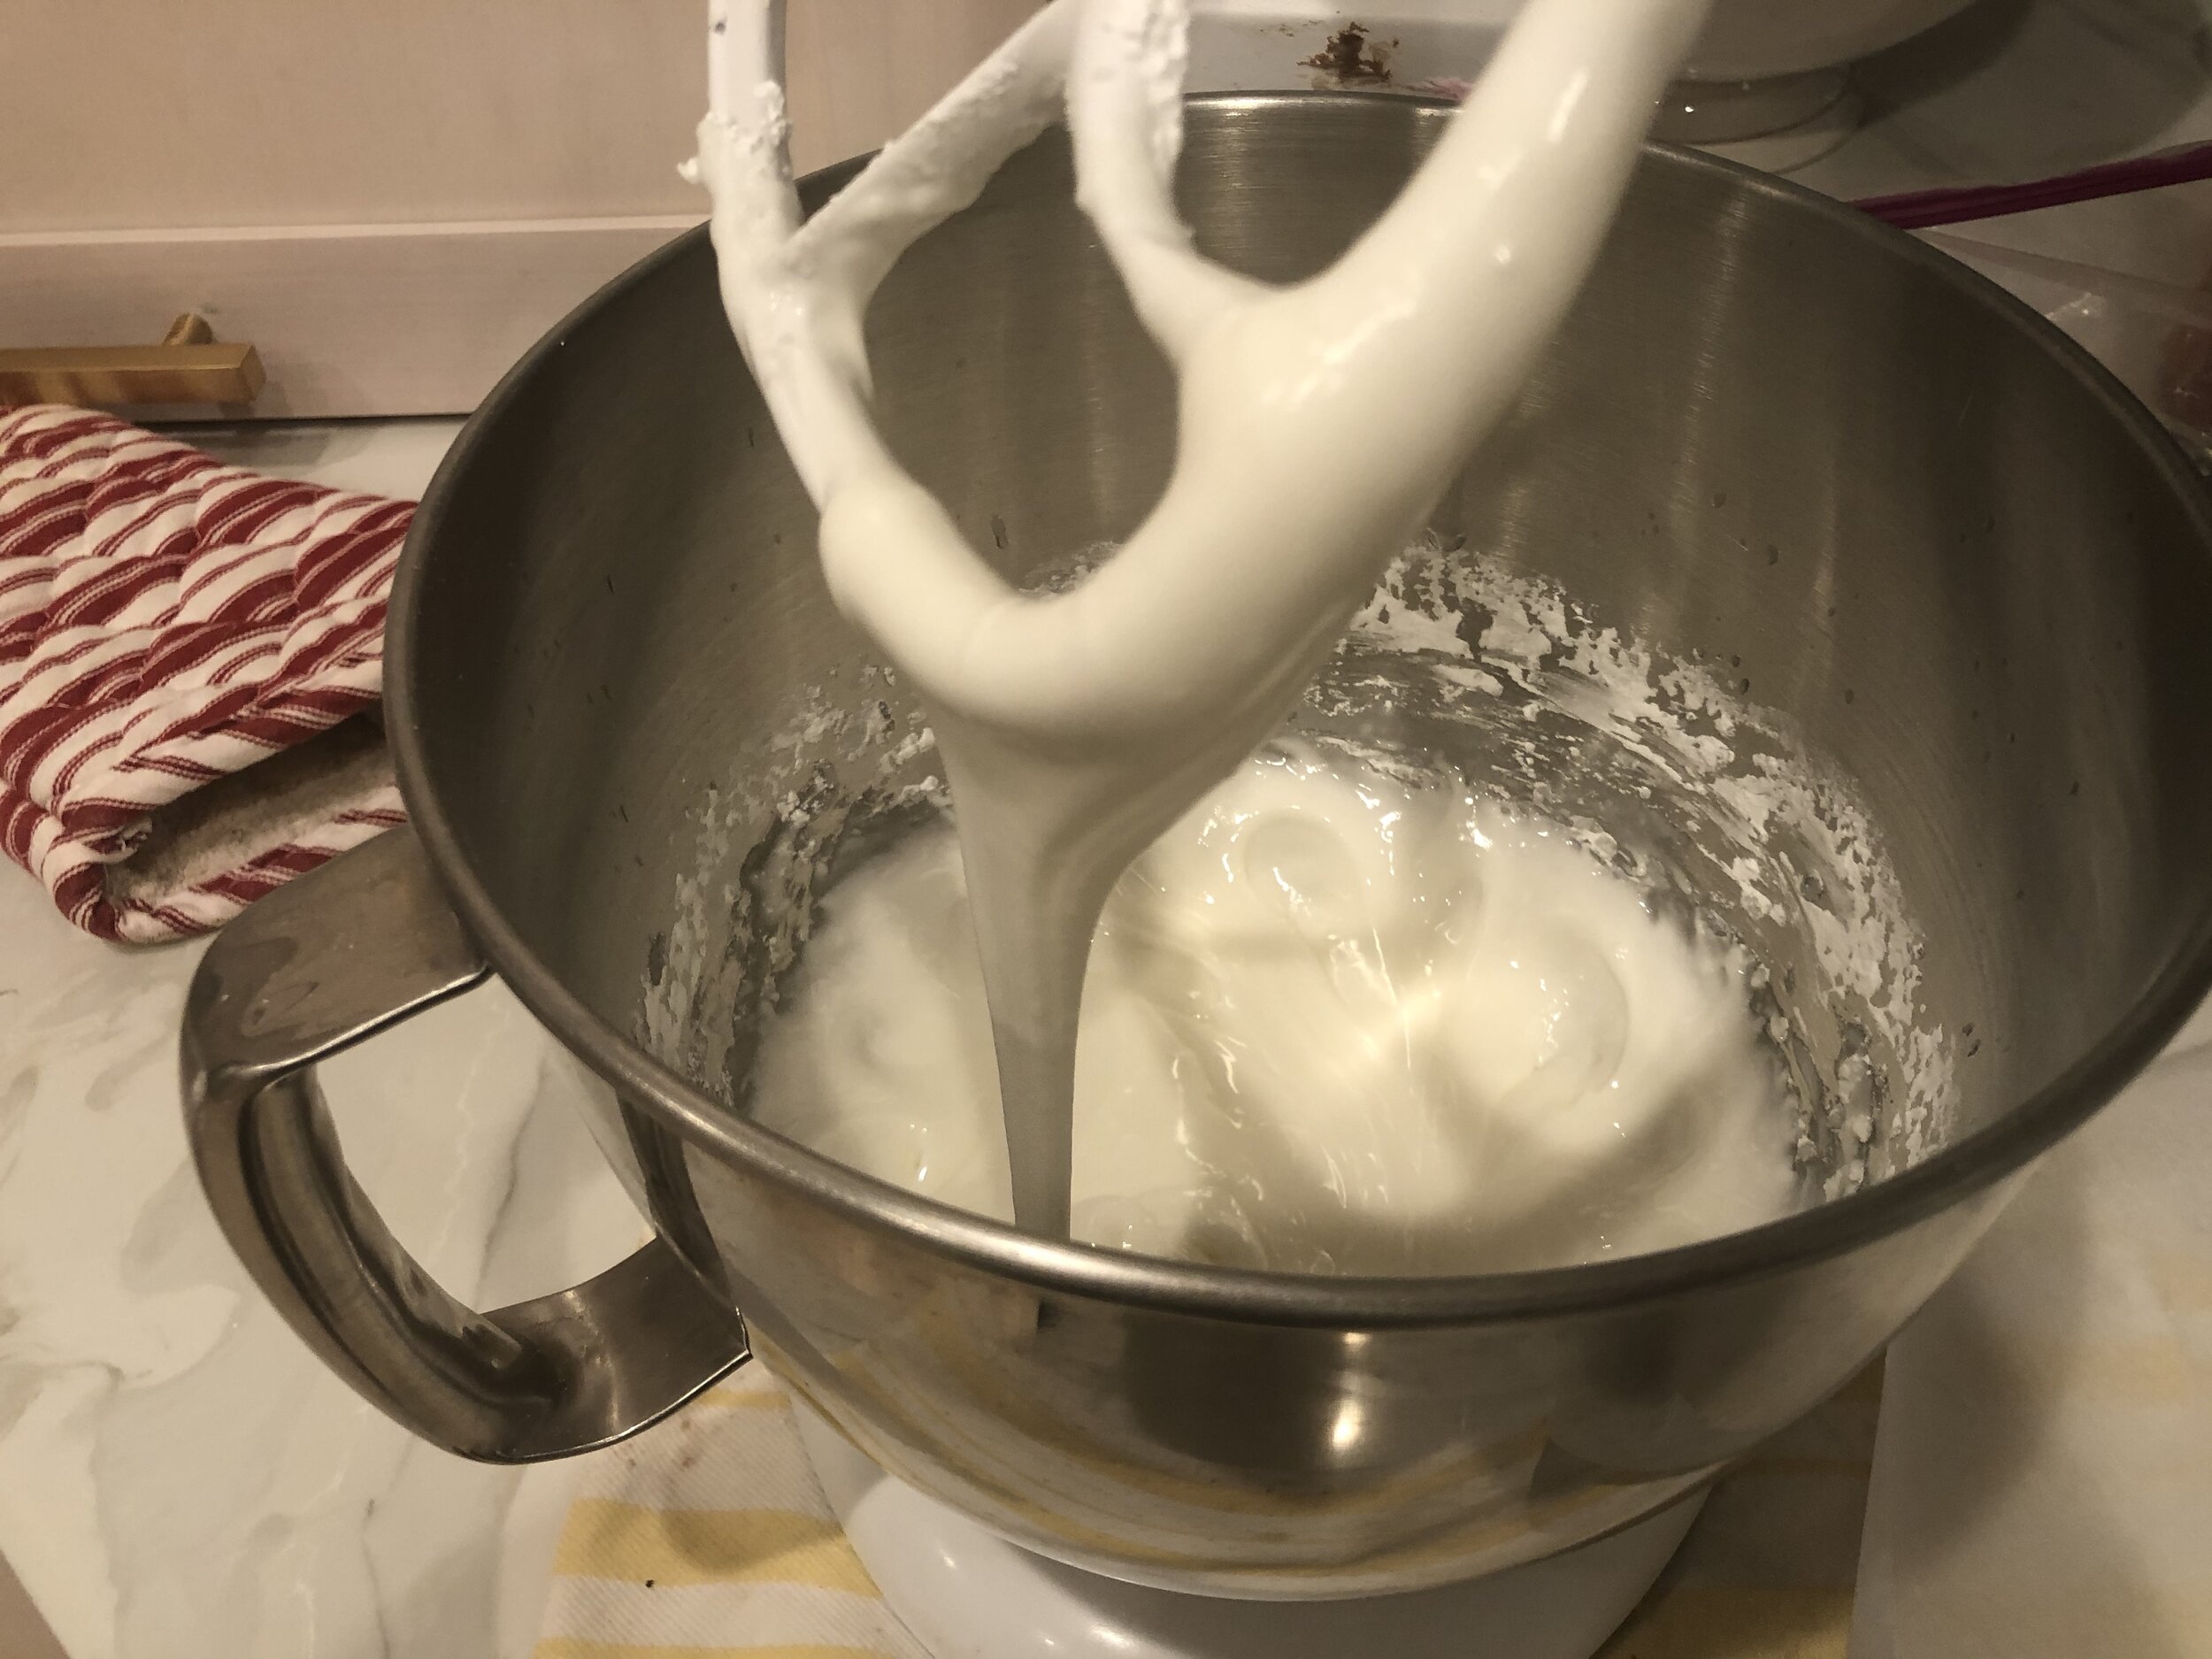
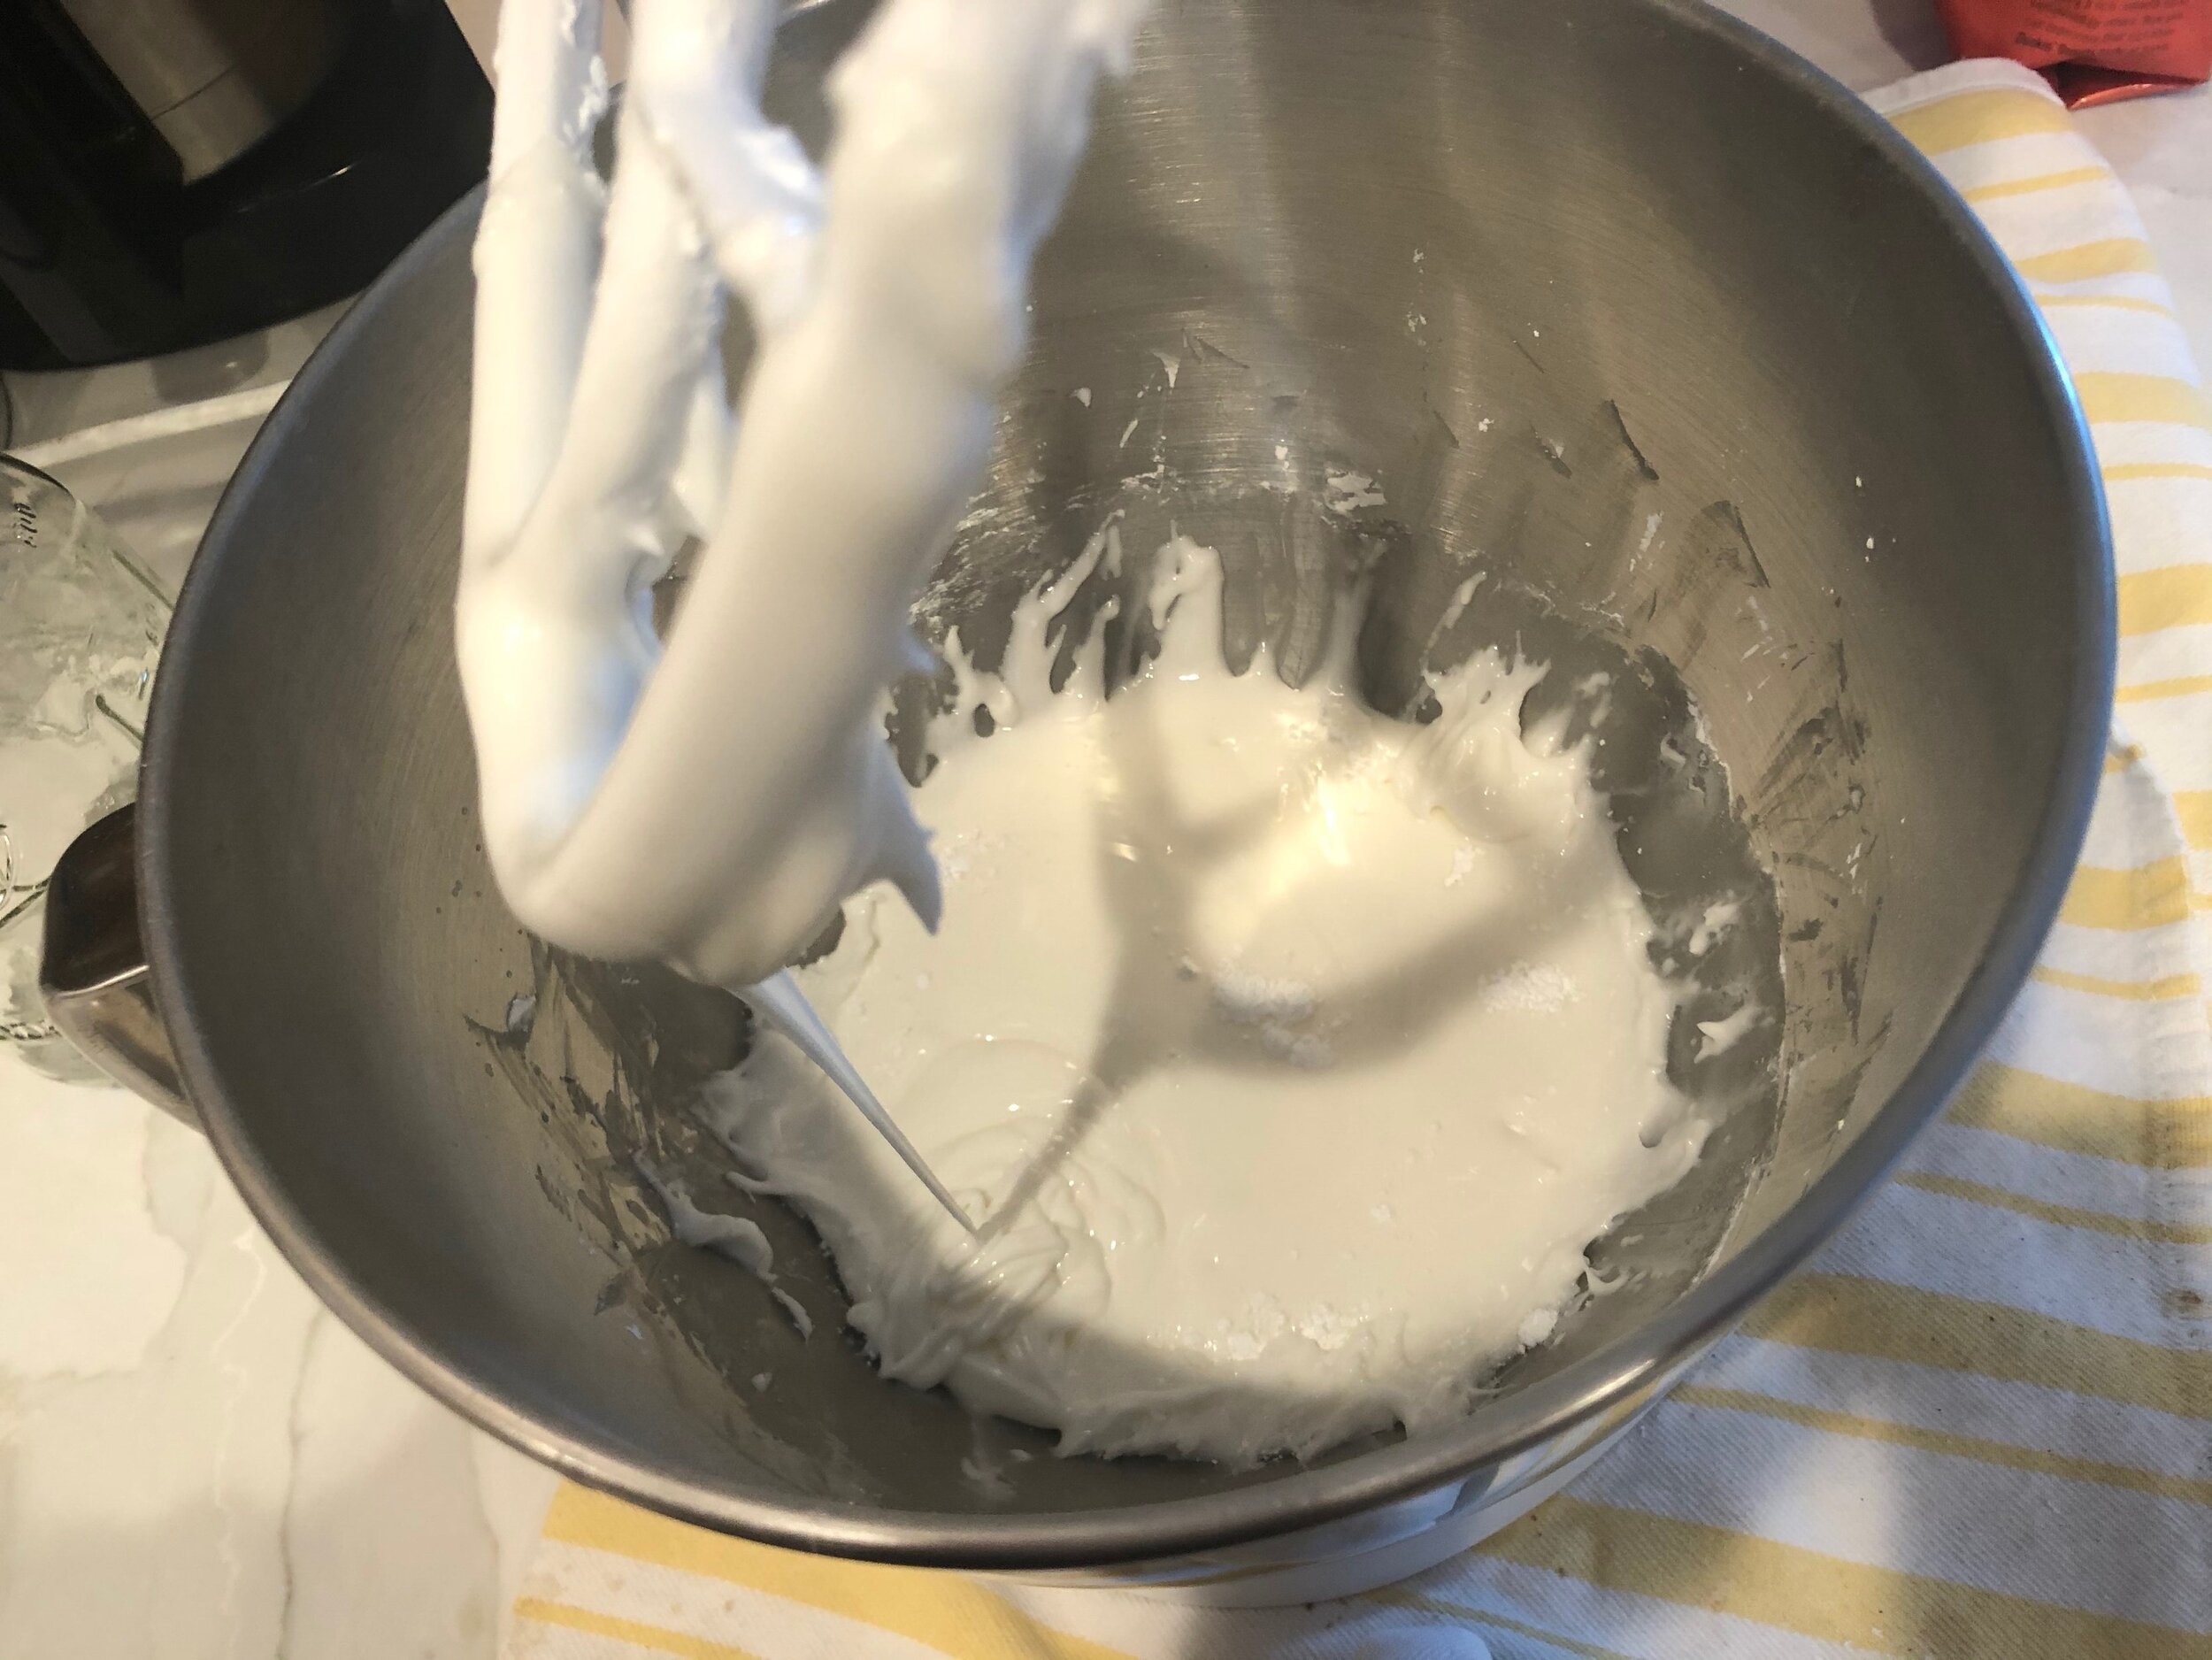
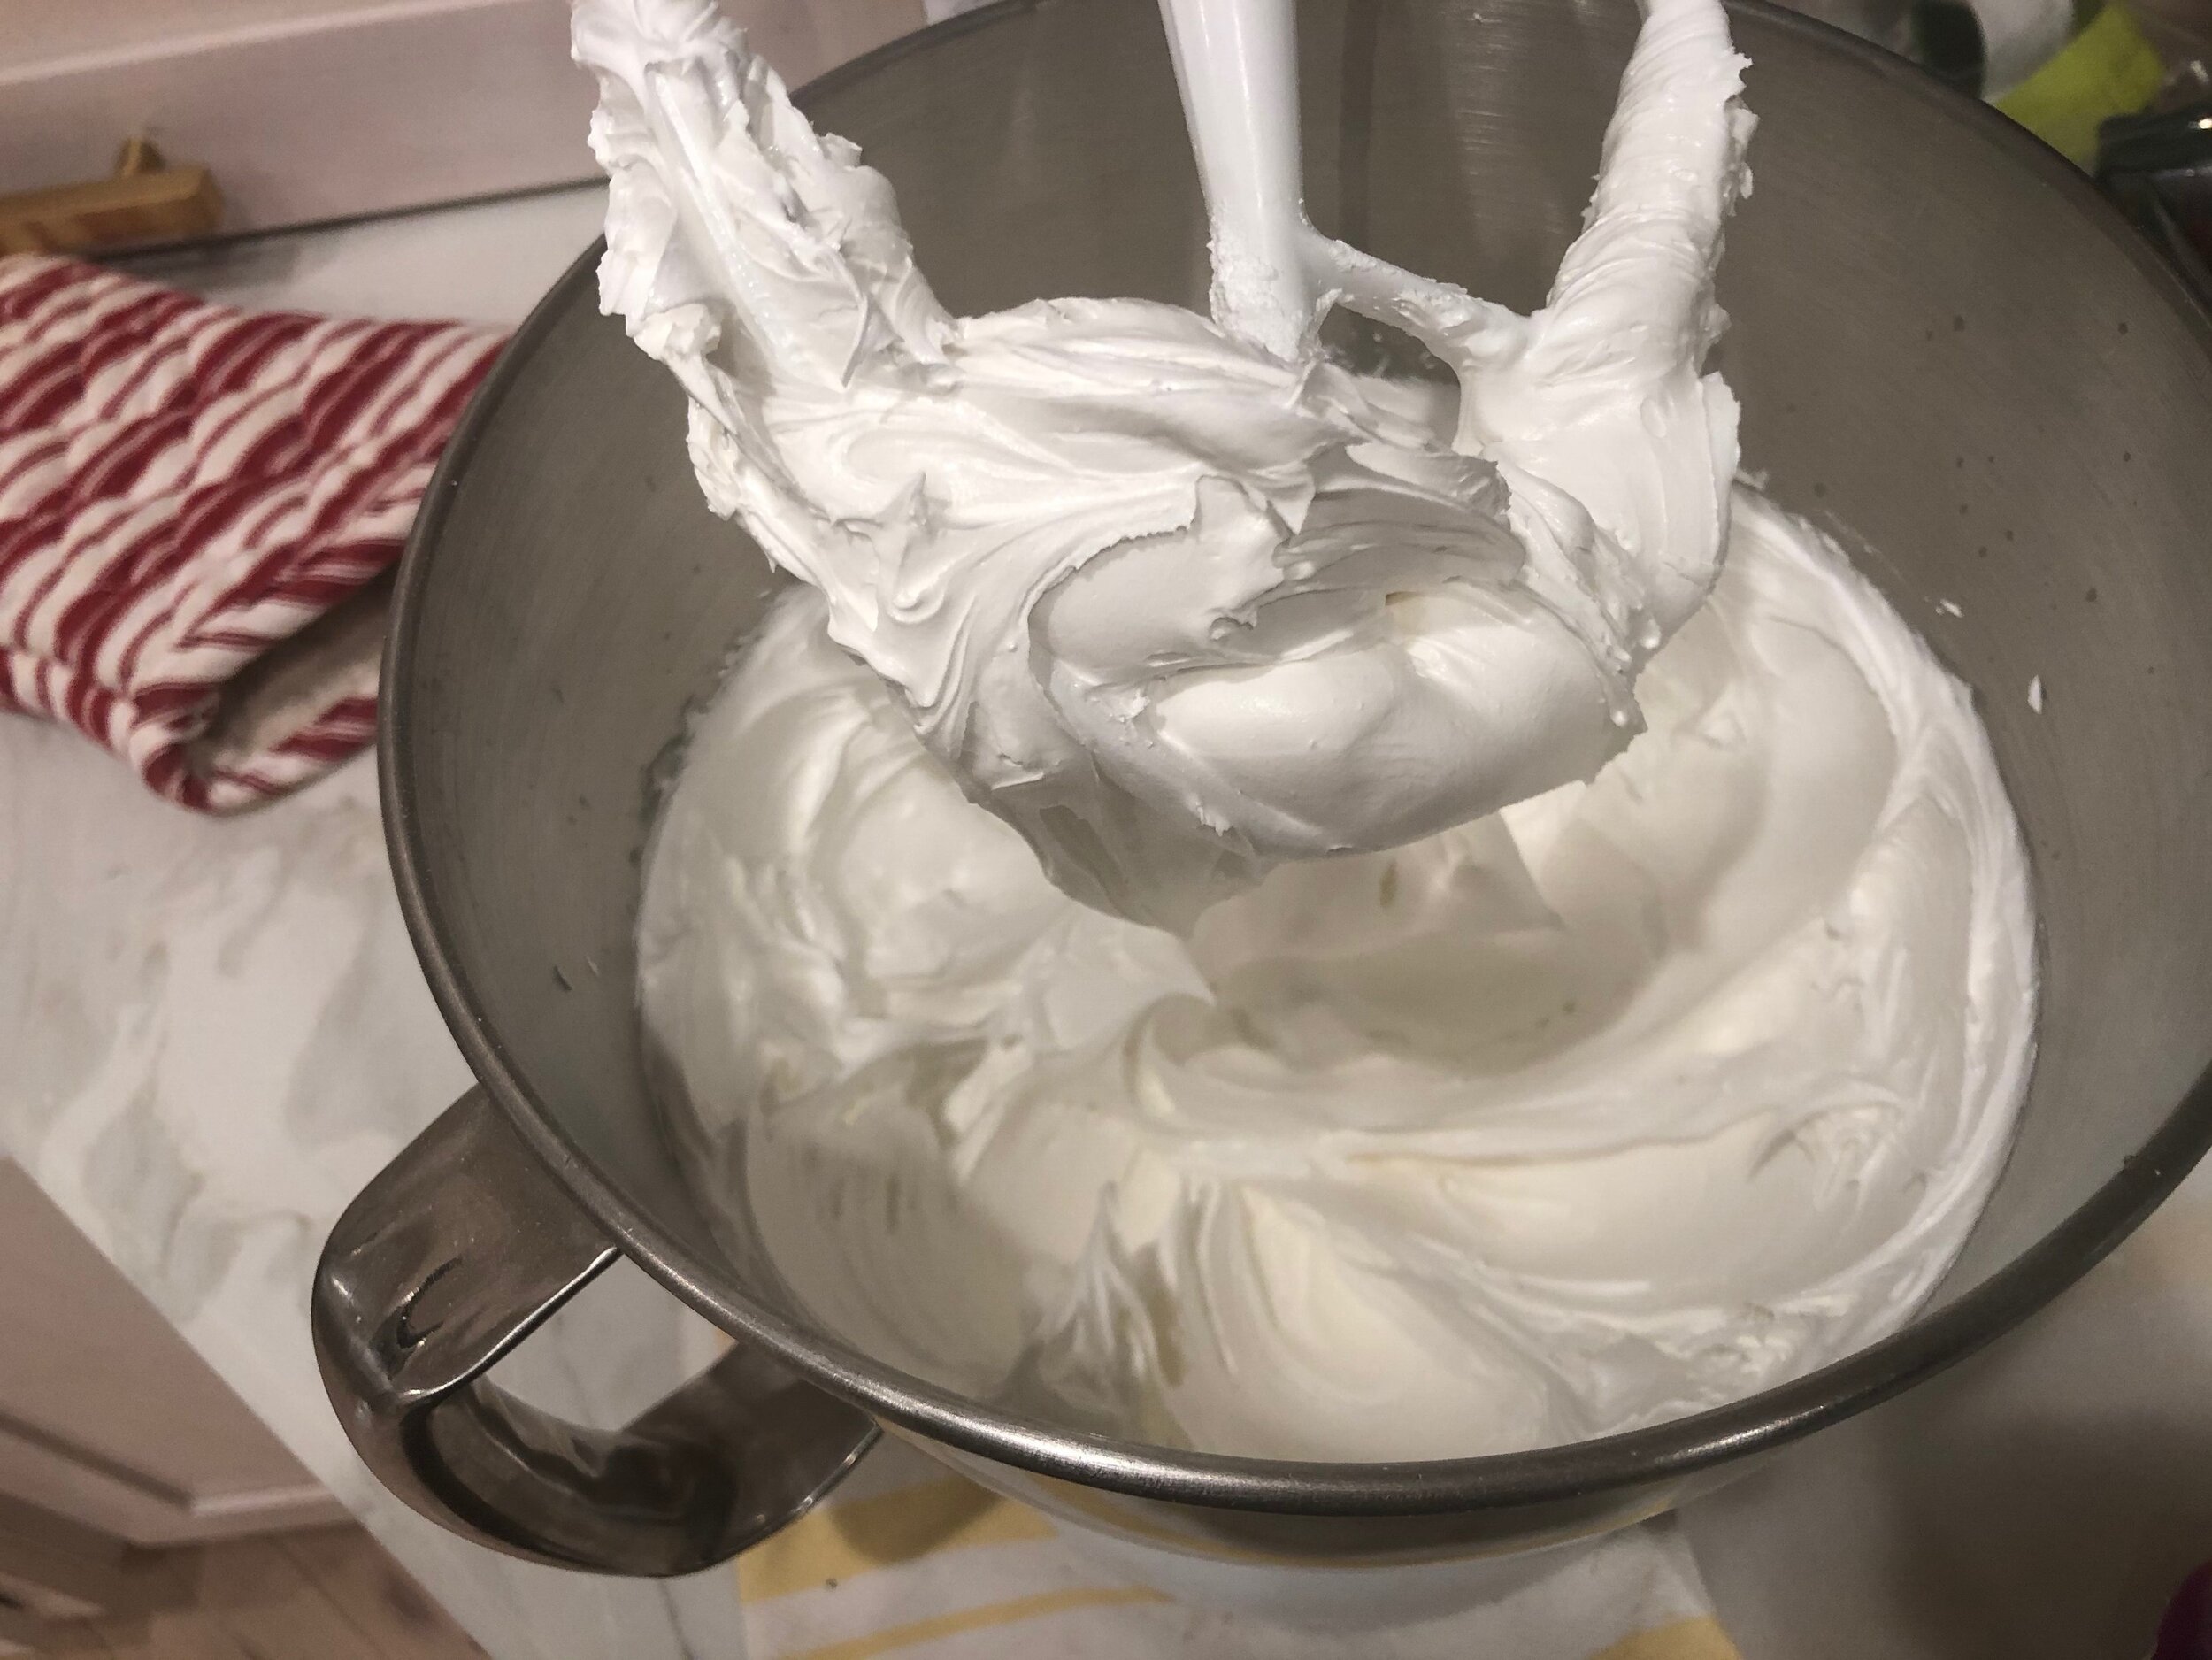
Mix on medium high for about 4 minutes until the mixture is fluffy and stiff peaks form.
Add lemon juice or water until desired consistency is achieved.
CONSISTENCY

Let’s talk a little bit about consistency.
STIFF - this is the consistency you will have when you make your icing and stiff peaks have formed. Stiff icing is used for detail work like flowers, leaves and anything that needs to keep it’s detailed shape.
PIPING - adding a little water or lemon juice to the stiff icing will produce piping consistency. This icing will retain some of it’s shape when piped but not with the same amount of detail as the stiff icing. Piping consistency is used to make outlines and fine lines. If you want to ice cookies with a very sharp edge first pipe the outline with piping consistency and then fill in the outline with flood icing.
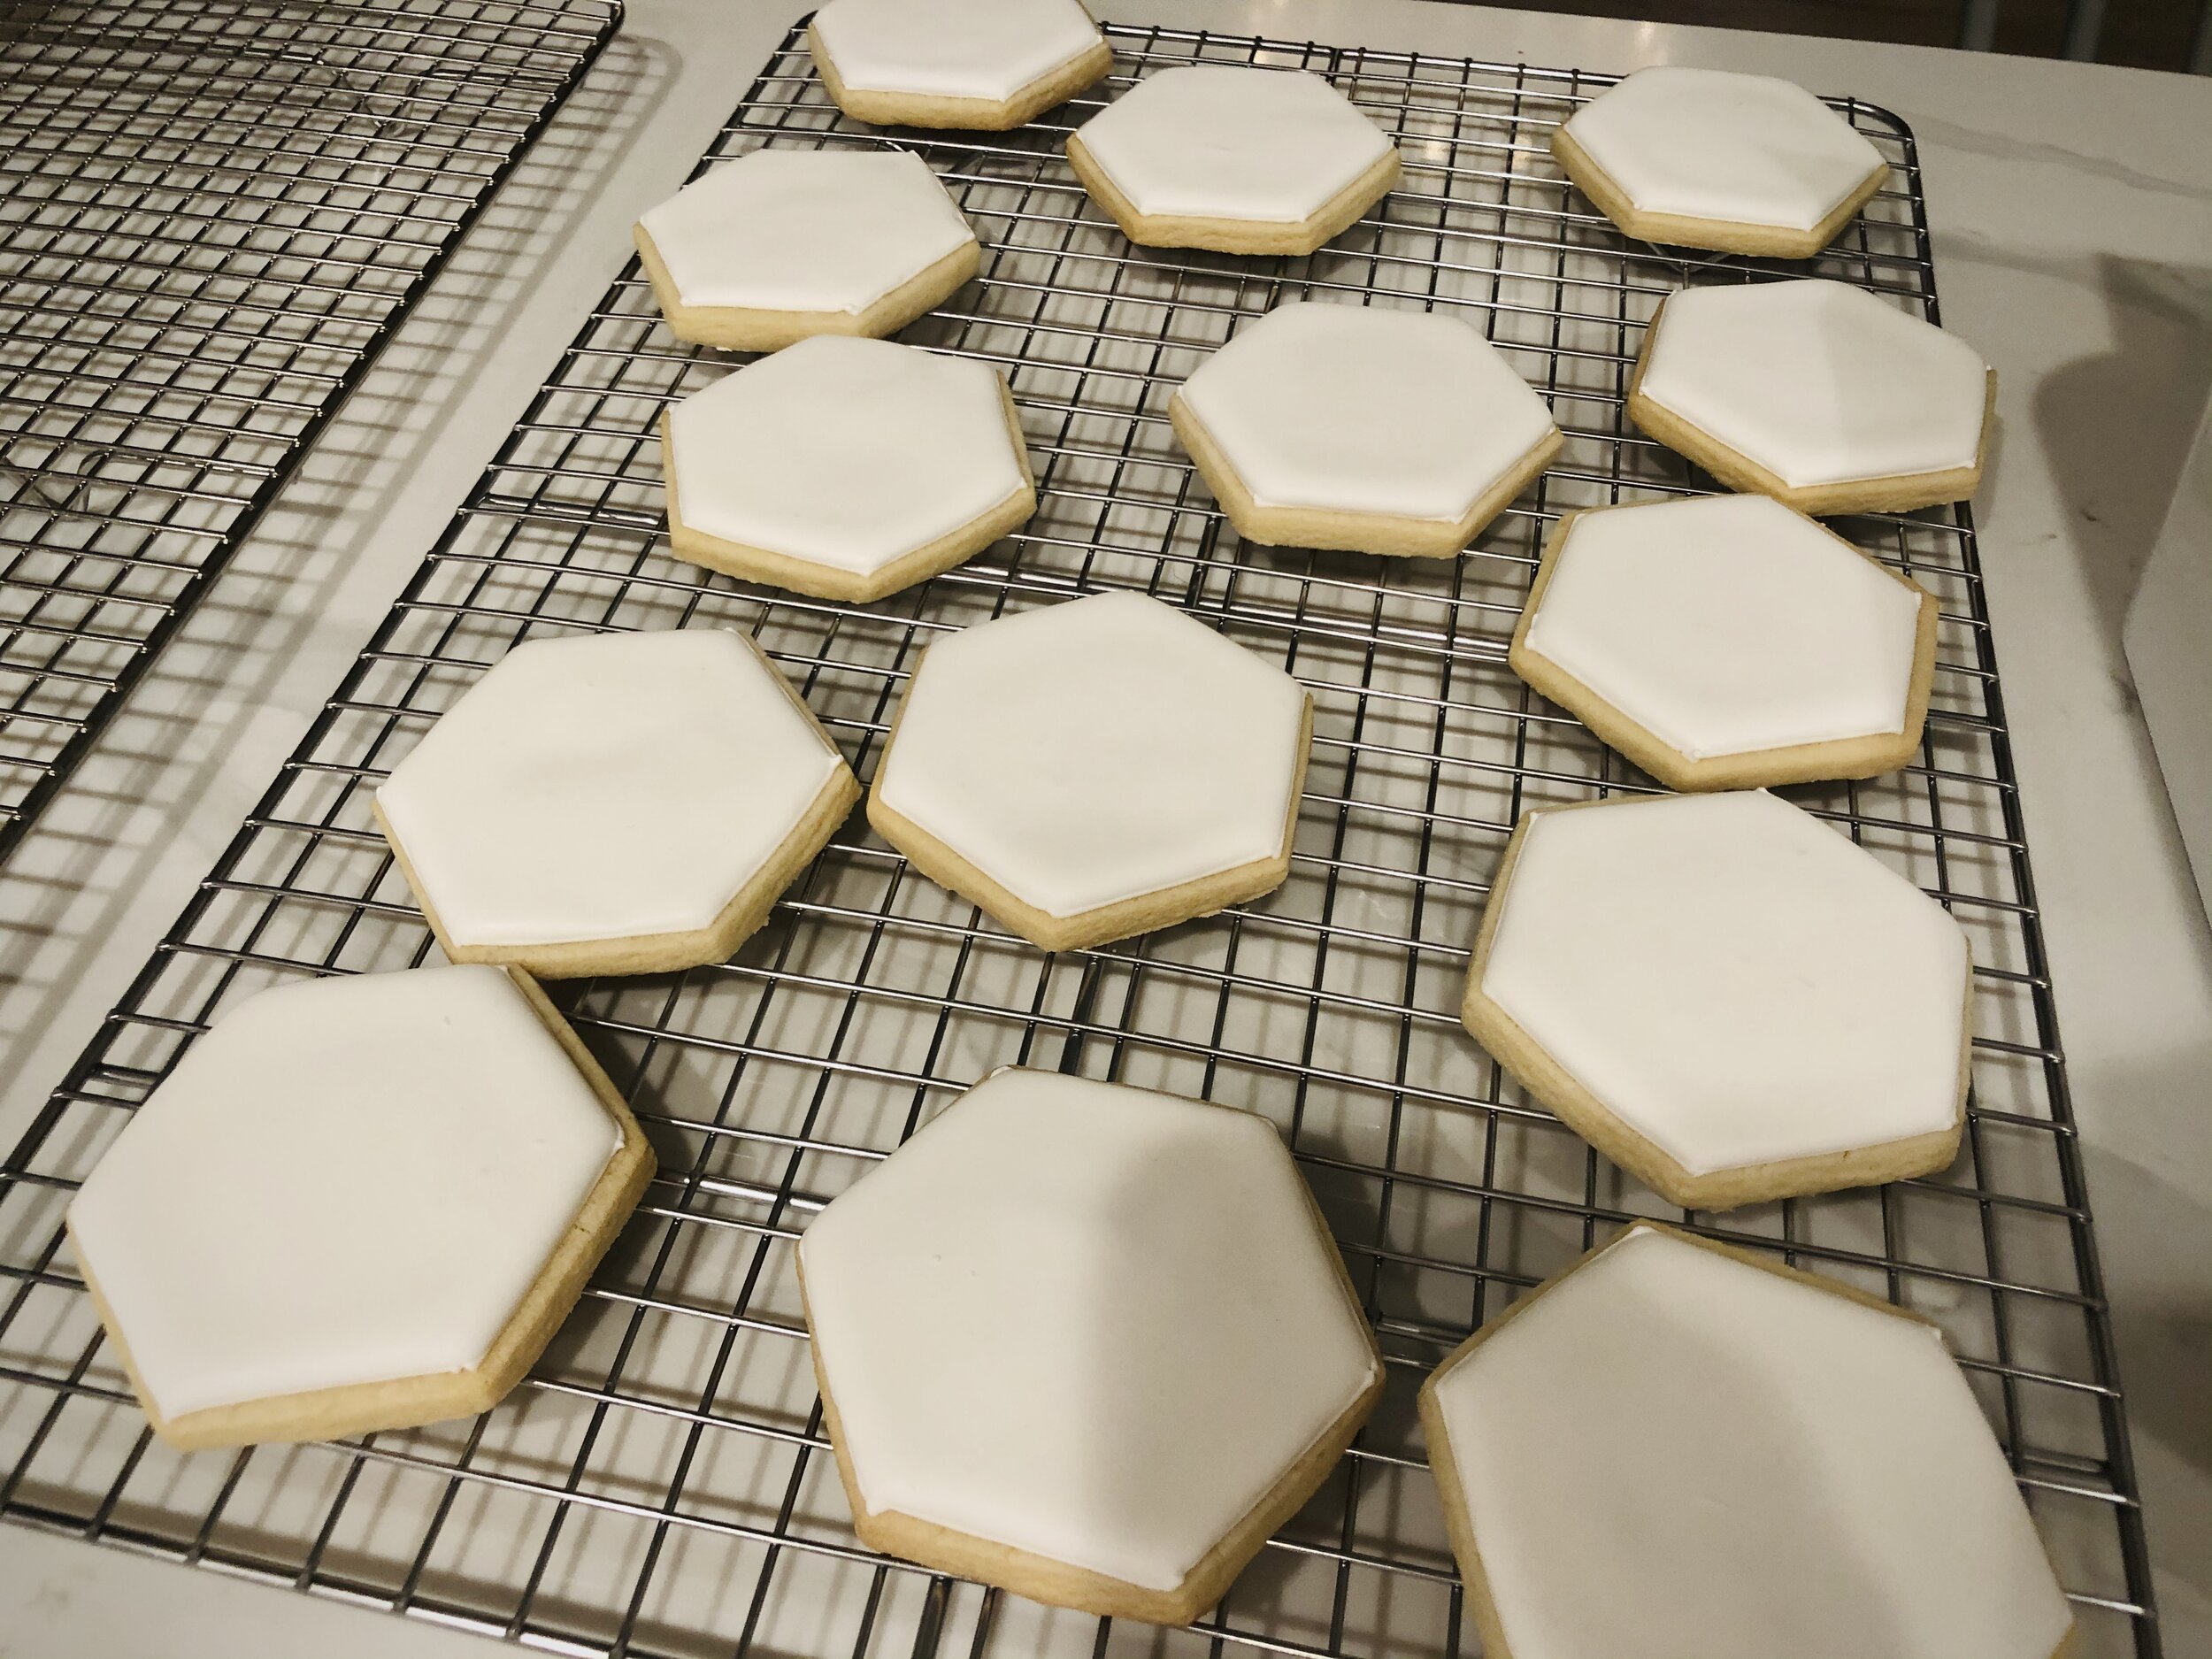
FLOOD - flood consistency doesn’t keep it’s shape when piped at all. In fact, if you were to drop some flood icing into the bowl or onto parchment the surface should smooth out on it’s own within about 15-20 seconds after dropped. Flood icing is used to cover the base of the sugar cookies.
Most of the time I use a consistency that is somewhere between piping and flood. This allows me to outline and flood cookies using the same consistency. This method doesn’t give as sharp of an outline but is quicker.
Once you have made the stiff icing put a small amount in a separate bowl and add lemon juice or water until you reach the desired consistency. If you add too much liquid, add more stiff icing to get the consistency right vs adding more powdered sugar.
If you are coloring the icing, separate the total amount you think you will need of that color into a bowl. Add food coloring until you get the color you want. Then modify the consistency. This will help you keep the color consistent if you are using the same color in both a piping and a flood consistency.

These cookies are outlined with piping consistency and filled with flood icing. Then piping consistency was used for the details. The edges and angles are sharp as well as the details. It took about 8 hours to decorate 3 dozen cookies (not including the baking time, just the decorating)
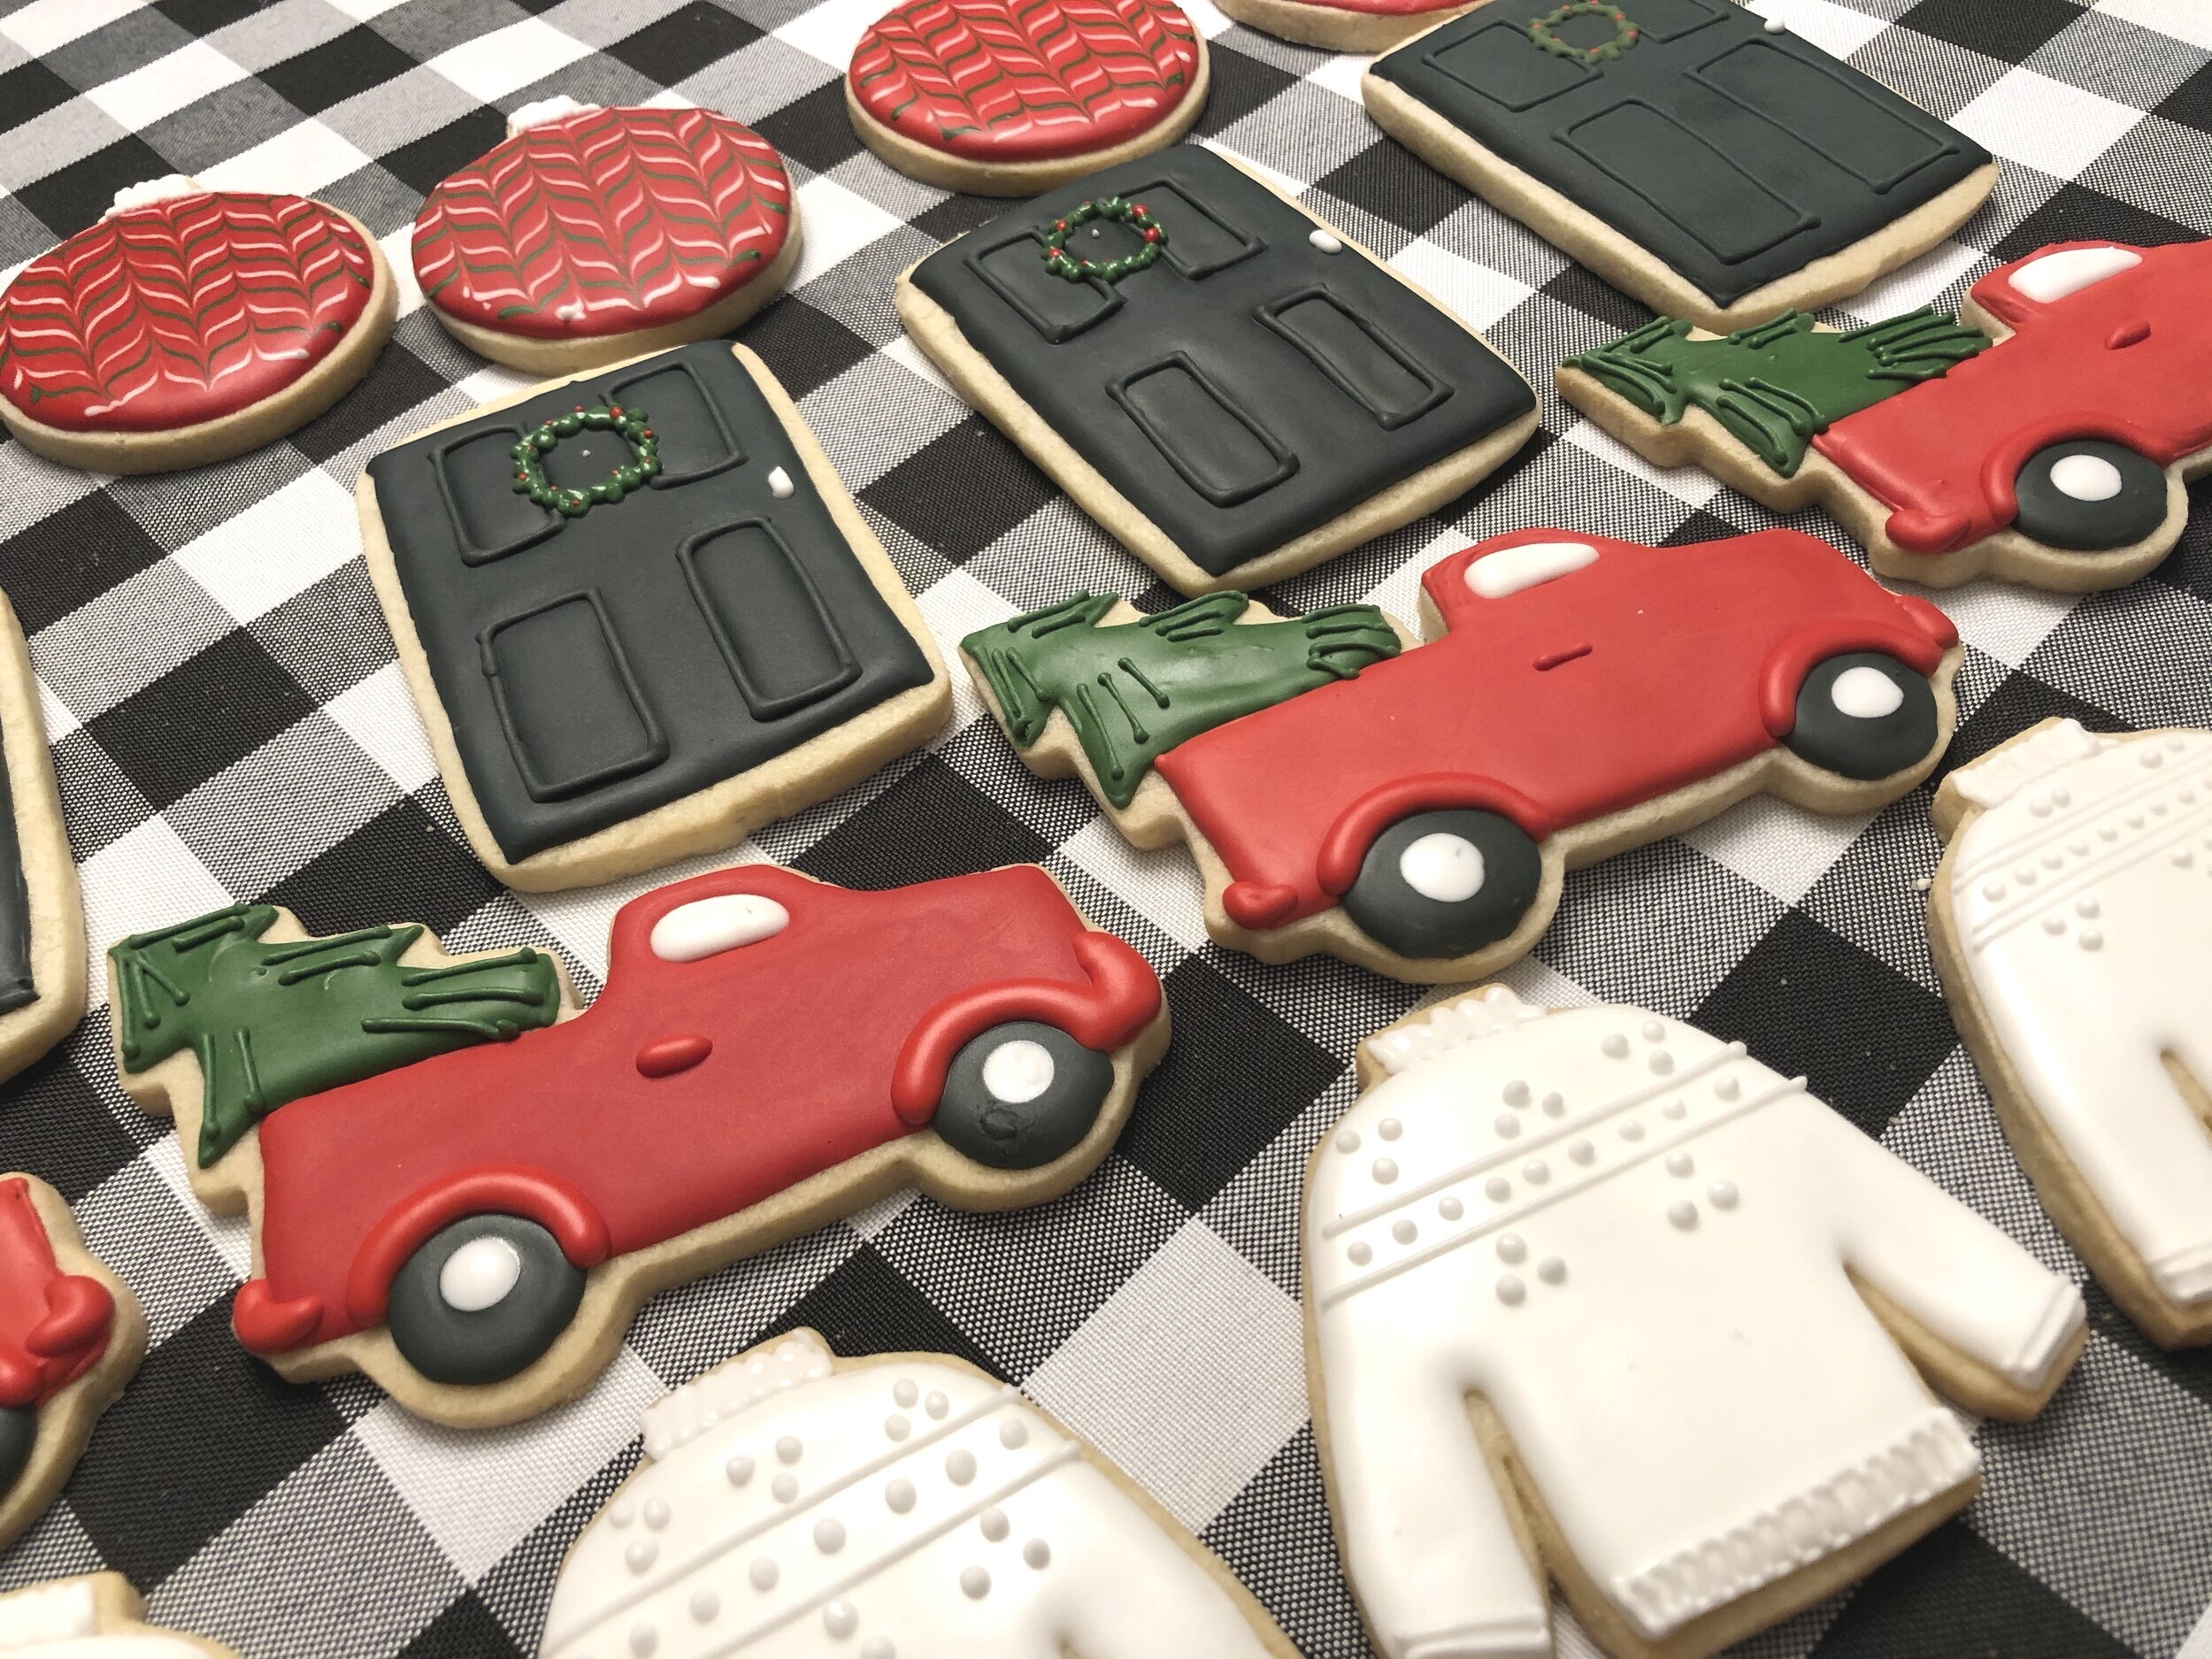
These cookies are outlined and filled in a consistency between piping and flood. The edges are softer as well as the details but they were completed in half the time as the cookies on the left.
If you want to have “3D” details on the cookies you have to ice the base color first and let the icing dry for about 20-30 minutes so that the top layer of icing is dry to the (very gentle) touch. Once the top is dried you can pipe more piping consistency icing and it will sit on top. If you pipe piping or stiff icing on top of wet flood icing it will just sink in and you won’t see the detail.

Painting on cookies requires the flood icing to be completely dry. These cookies were painted with food coloring and then piping consistency icing was used to create the details.
For tips on making sugar cookies and some tips on icing go here.
For more decorating tips check out this post here. It’s a Halloween cookie tutorial but it shows some pictures and step by step how I flood and do some detail work.
Questions?
Please comment below so I can answer any questions and/or add the answers to the post. Thank you!