crepe paper garland
I saw this garland on the Instagram feed of Oh Happy Day. If you are not familiar with Oh Happy Day they are creators and curators of all things beautiful and colorful through their Instagram, blog and party shop. When I saw their gradient fringe garland I knew I wanted to recreate it for Sunny’s second birthday but the blog post didn’t have as much detail as I would like so I decided to expand on their instructions.
SUPPLIES
Crepe Paper Rolls
They are 8 feet long by 20 inches wide
Colors: Carnation Pink, Lilac, Wild Berry Purple, Fire Orange, Banana Yellow, Hot Pink, Orangesicle, Apricot.
I used 2 of each (except for Orangesicle and Apricot I used 1 sheet of each only because I was too cheap at that point to order 2 of each)
Scissors
You will need some good quality sharp scissors. I used kitchen scissors and I should have used craft scissors
Pencil
Ruler
Not essential but helpful to keep everything even
Strong Twine
I had this just sitting around in my house. The garland gets relatively heavy so strong twine is needed to hold the weight.
Hanging Hardware
If you will be hanging your garland from a wall like I did you will need something to secure the ends. I used some clear command hooks. Not the best option but they worked. I started with small ones that hold 0.5 lbs and they basically ripped off the wall in 2 seconds. I would recommend these command hooks weighted for up to 2 lbs.
instructions
Roll out the crepe paper roll.
Fold crepe paper roll in half and cut.
You should now have 2 equal size pieces of crepe paper.
Gently roll the crepe paper back up. Be careful not to roll the paper too tight or it will create a thick roll that is difficult to cut.
Using a ruler measure 3cm sections and mark with a pencil. You could make the markers wider or narrower but 3cm is a good width.
Cut the rolled crepe paper where you made your pencil marks. You may end up with one odd strip that needs to be tossed, or use it…do whatever you want.
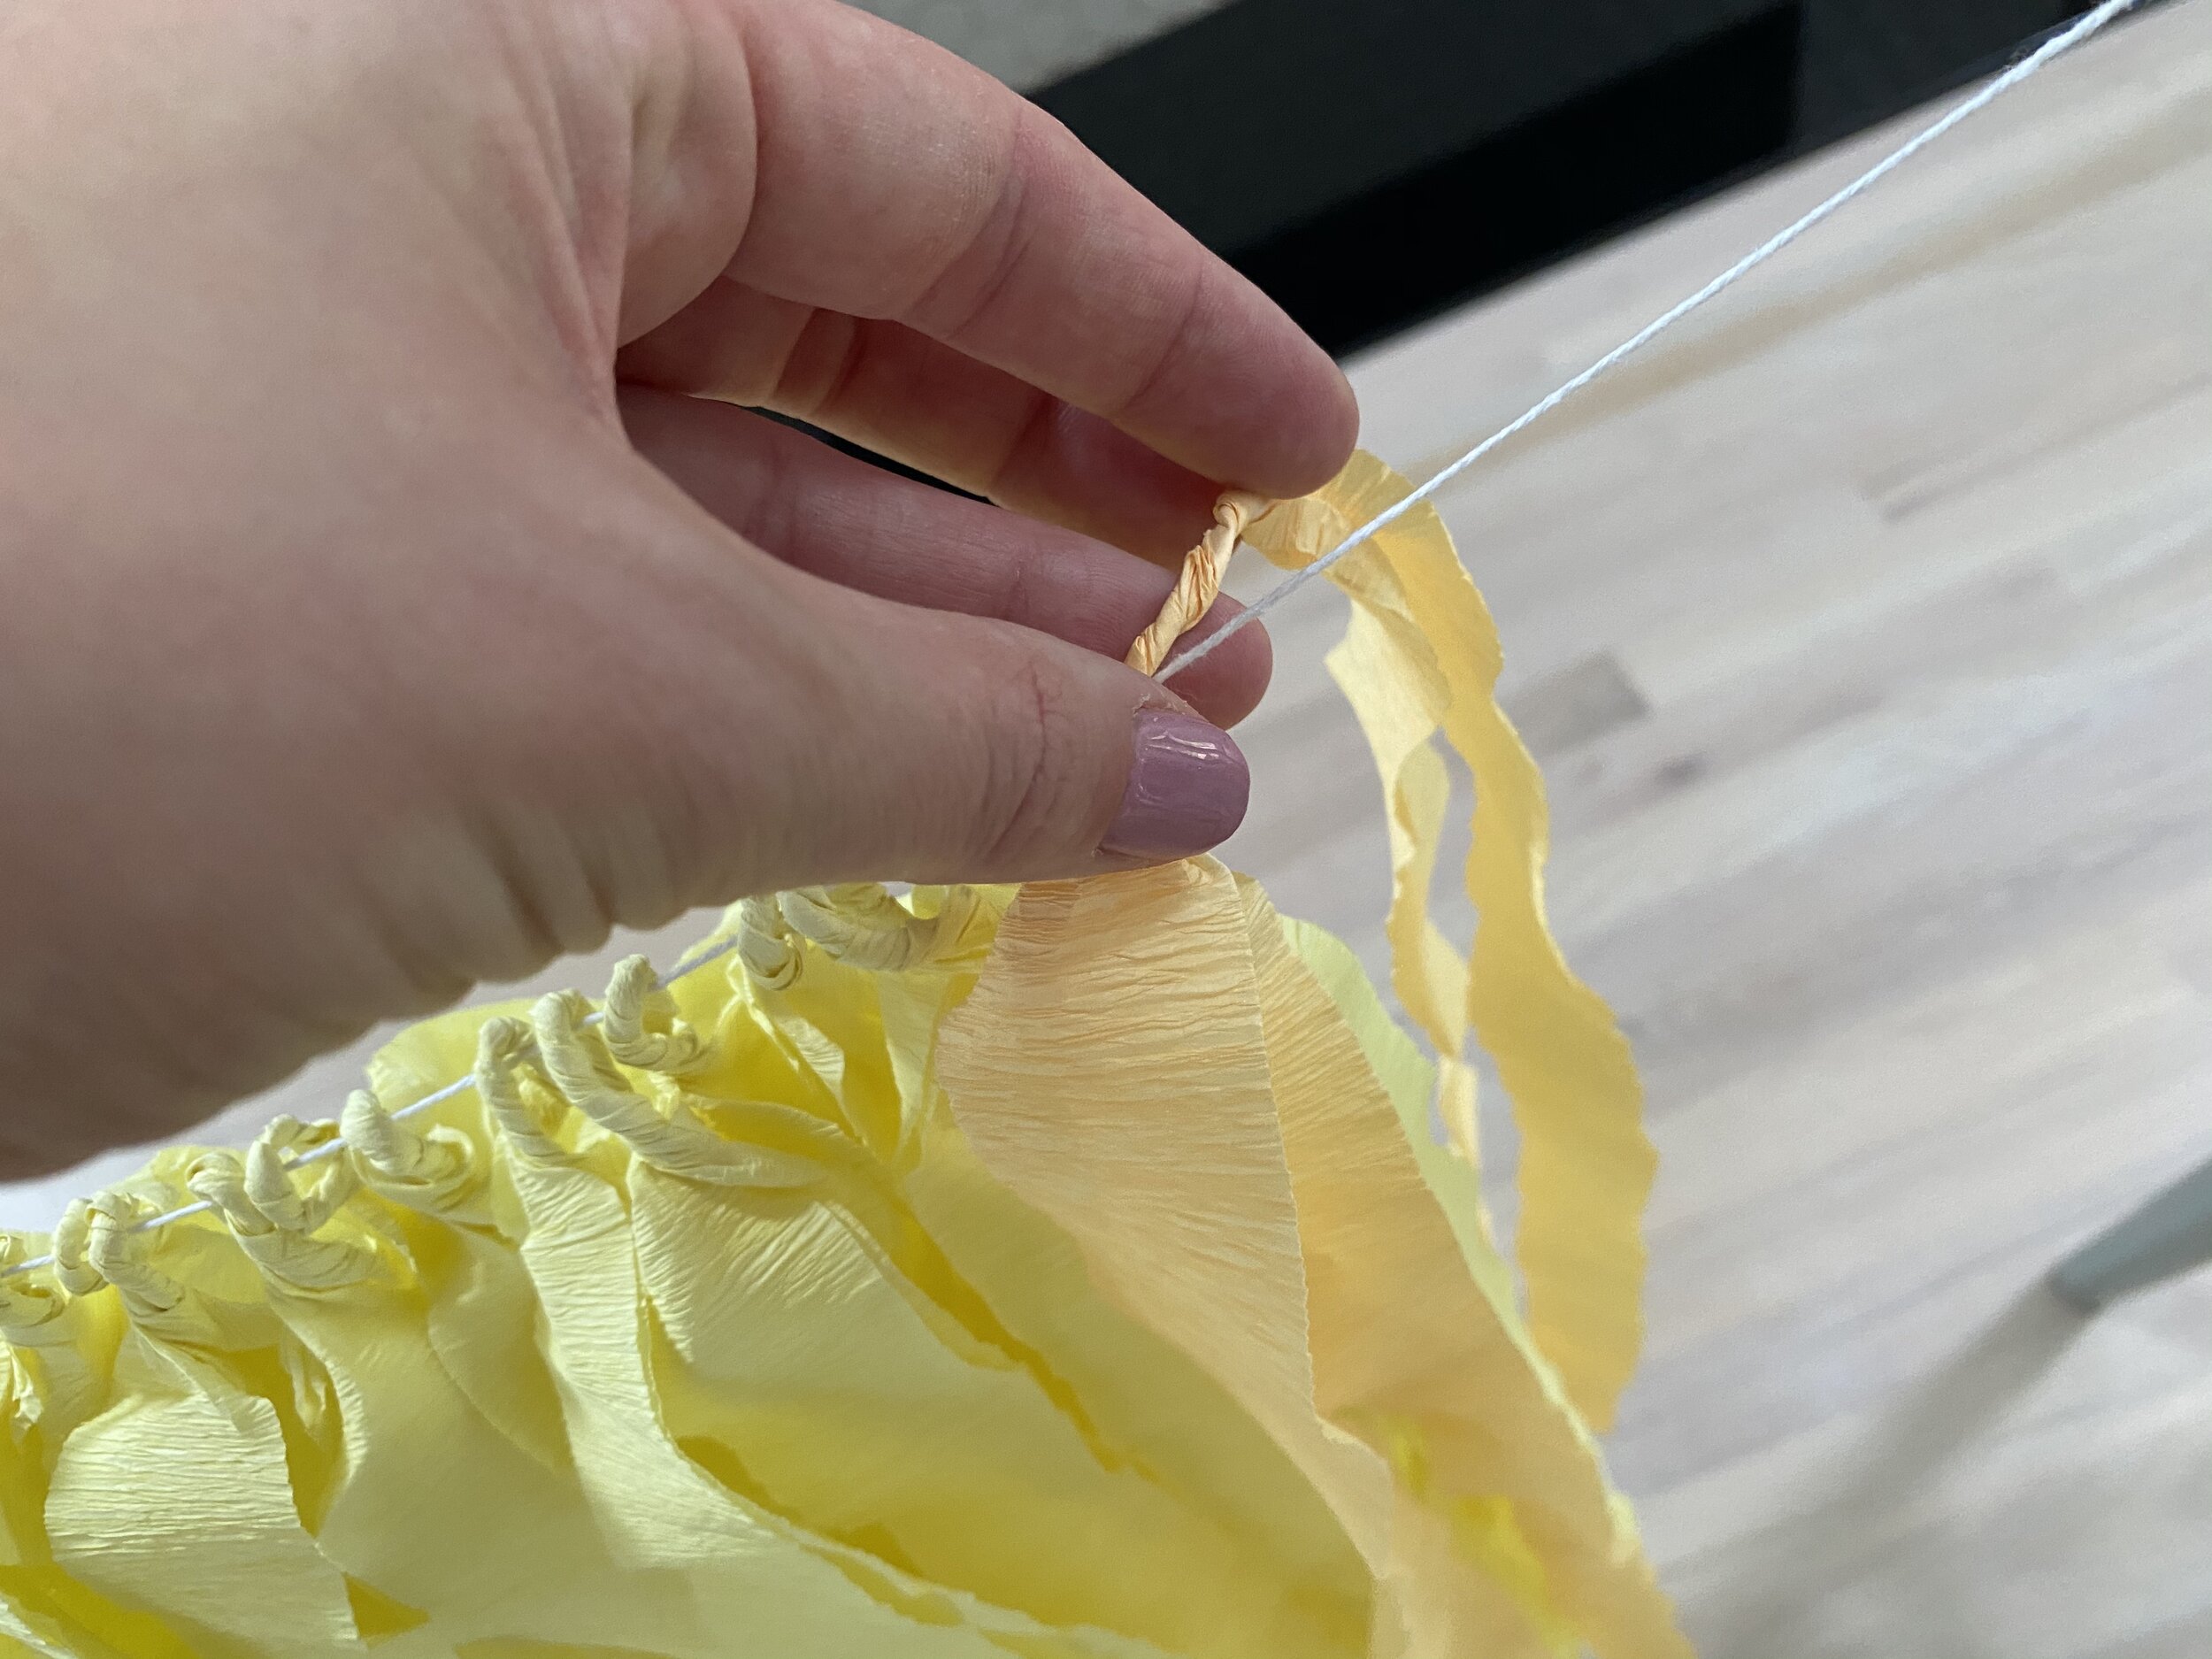
Unroll two strips and stack them on top of each other. Find the center and roll the two pieces together.
Take the twisted section and hang over your twine.
Twist the strip together to create a loop so that the piece is secure on the string. It should still be able to move side to side.
Repeat about 10,000 times until all the strips are secure. I tied the twine between two barstools to keep the strips elevated while I worked.
Hanging
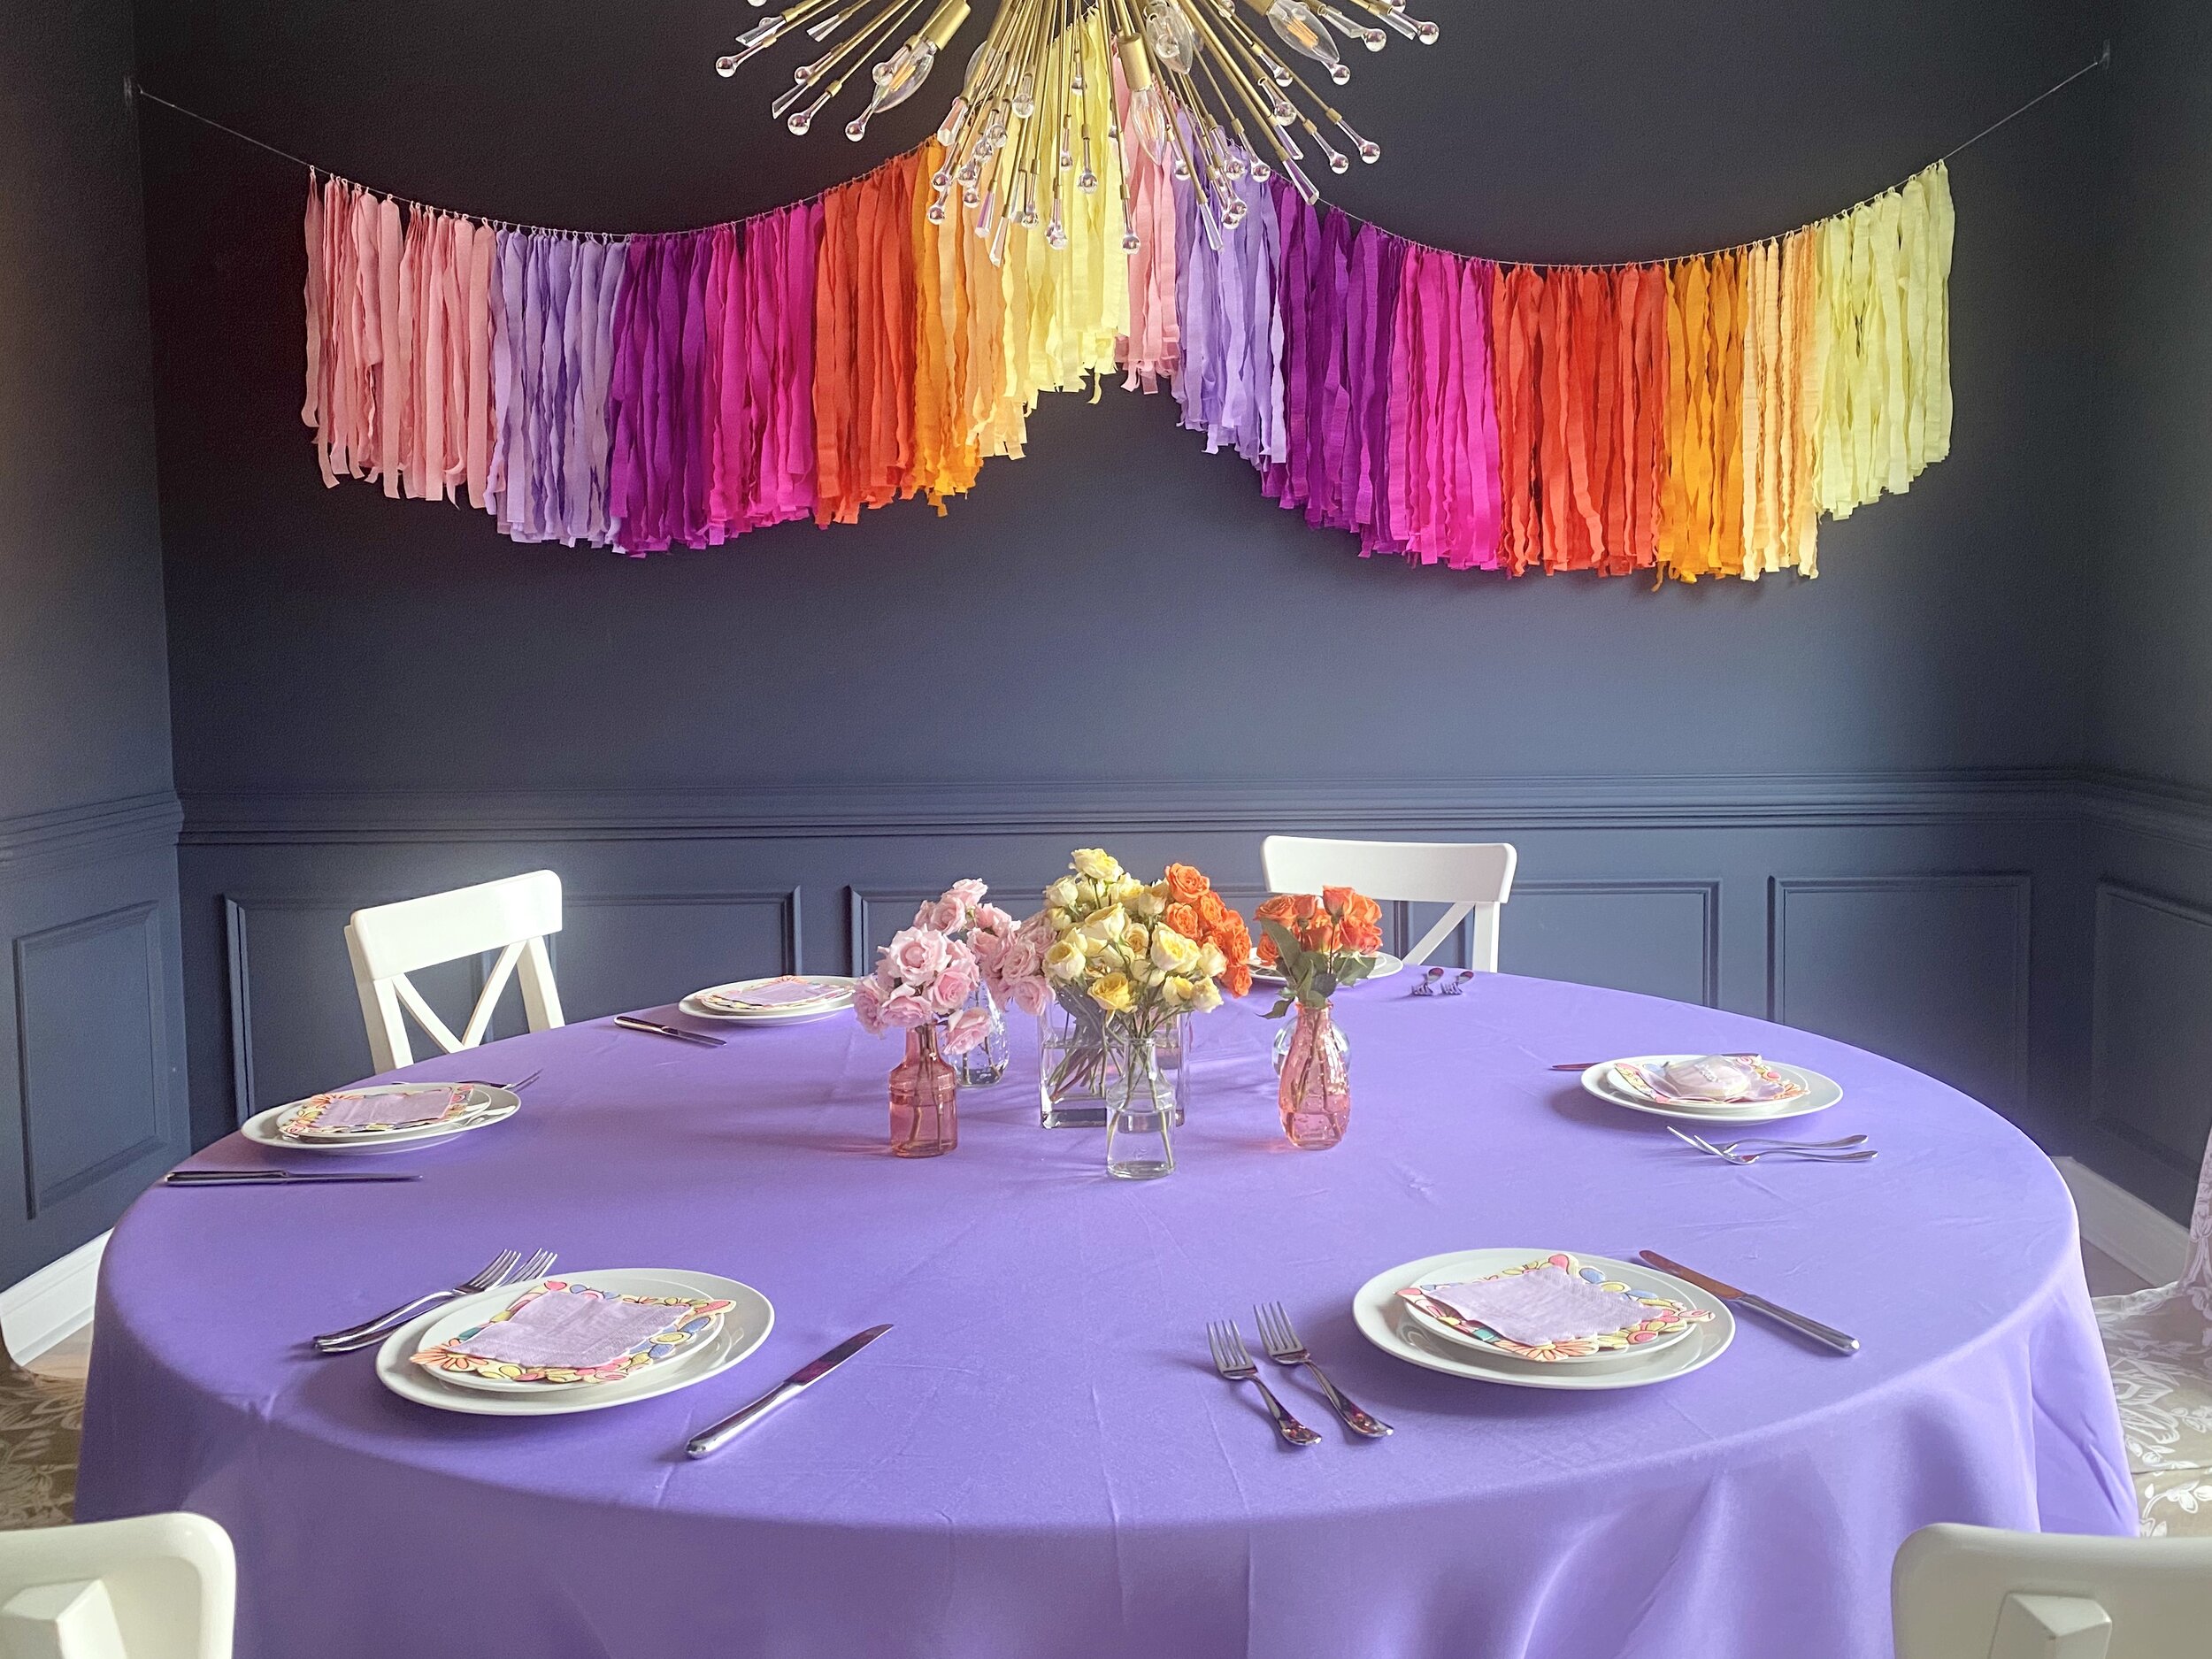
Where and how you secure your garland will depend on the space. I was using the garland like a backdrop for the dining room. I made 2 of equal length and secured with command hooks. Two on the ceiling and two on the opposite walls. The ceiling hooks I staggered slightly for more dimension.
The strips started sliding down toward the bottom of the twine. I used some clear tape to secure some of the strips to the twine so they wouldn’t slip down.


